A couple of useful specialty battery packs
First is fairly self explanatory. Separate the pack into two (2) cell units. This makes it easier to fit into narrow fuses and saves having to take servo trays out.
![]()
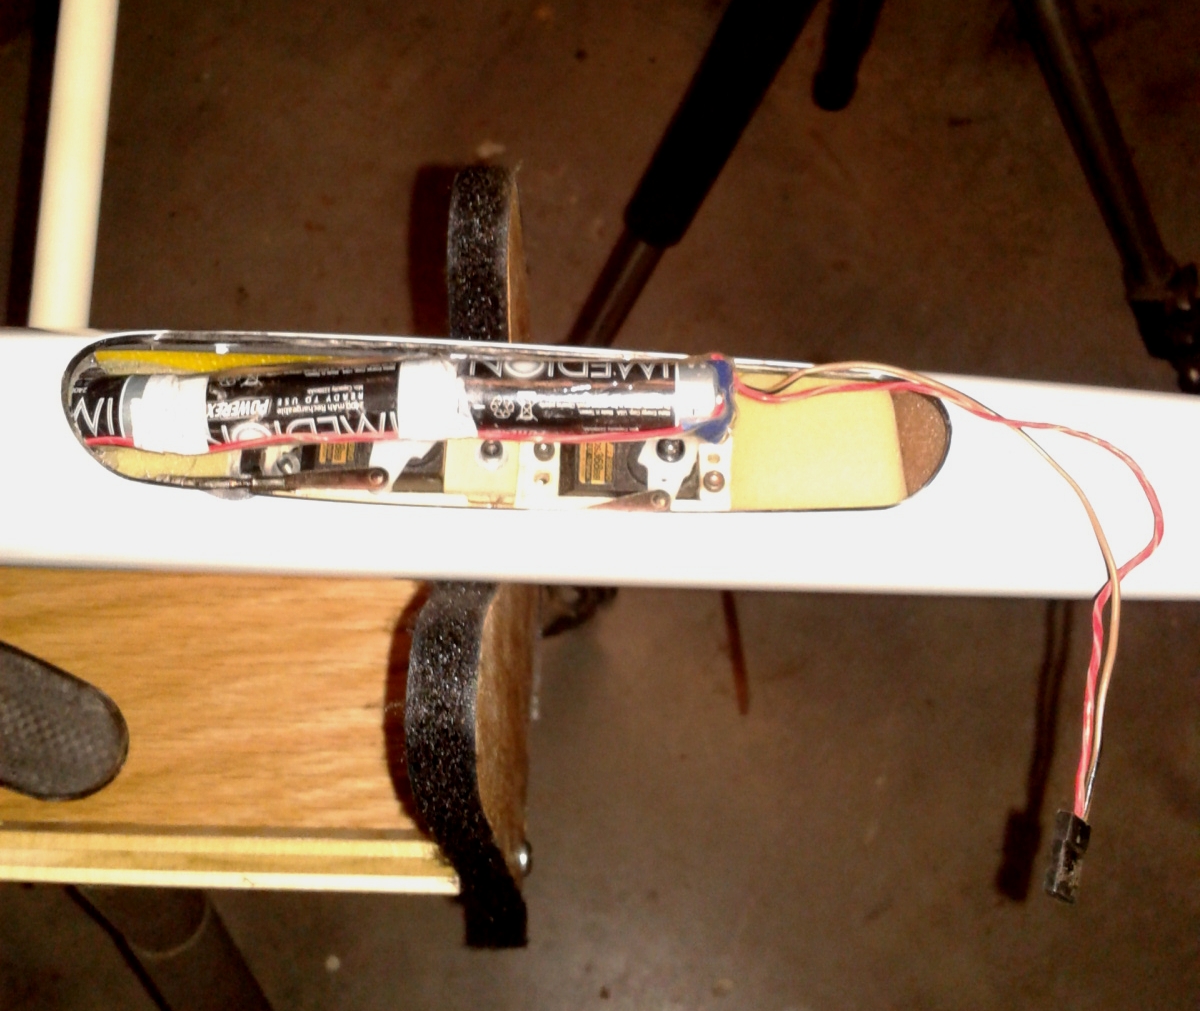
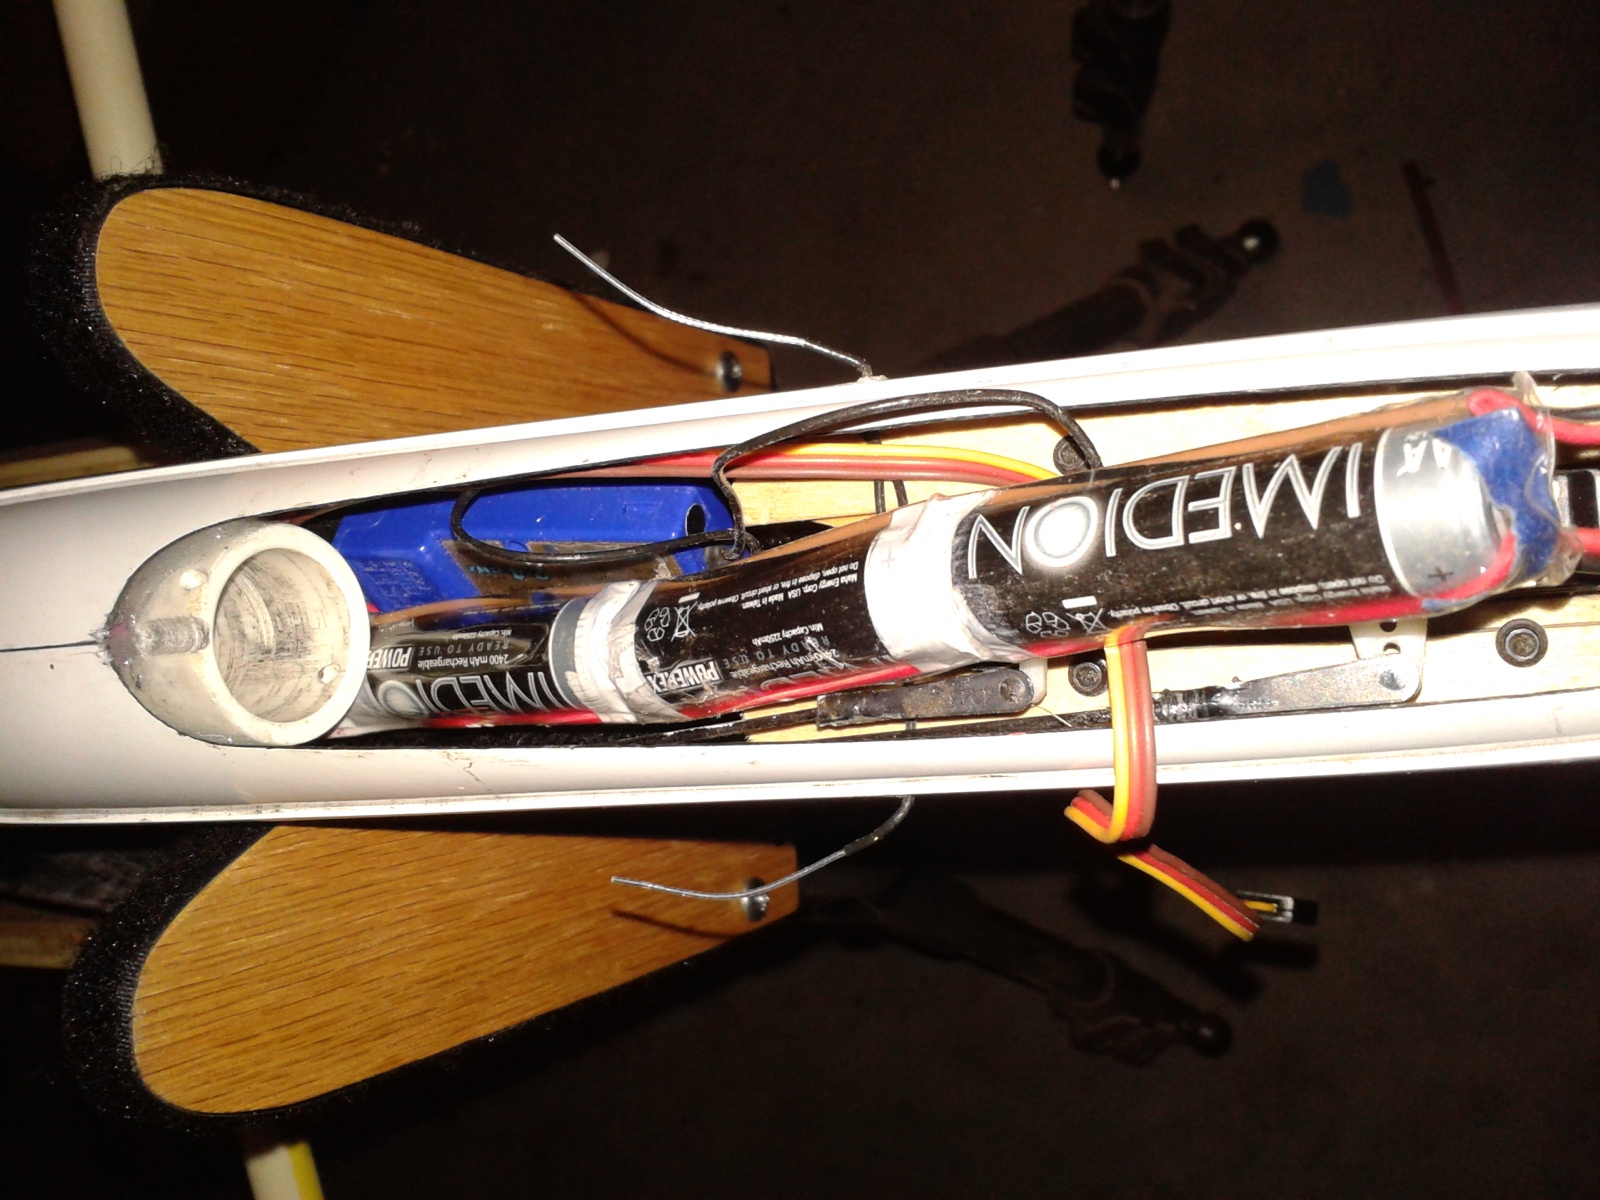
The second is a ballast tube battery. It can sometimes fit under the ballast tube. I use it in my AVA tube and under my Royale XC tube. Comes in handy for those very long flights for XC or for the LSF 8 hour task. It is made up of two (4) cell packs in parallel.
Two 2400 mAh (4) cell packs make a 4800 mAh double pack.
![]()
Step 1
Solder together (2) 4 cell units.
.
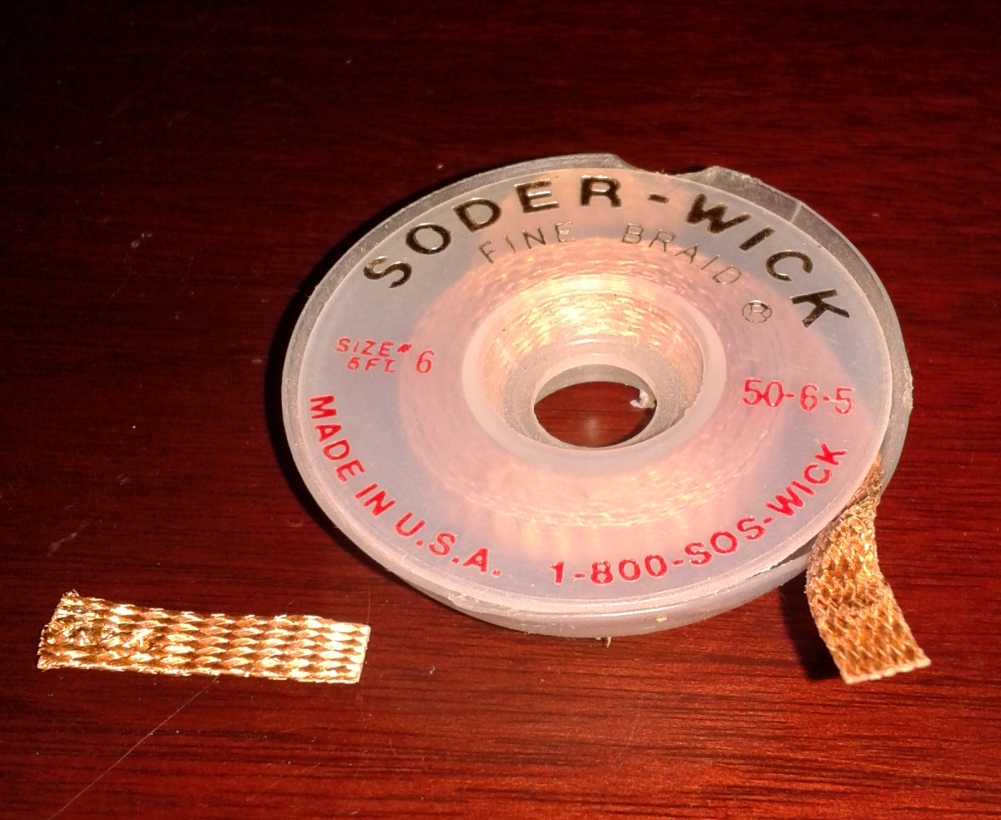
I use Soder Wick fine braid, since it solders well and bends easily.
Step 2
Lay the pack out straight. I usually put a piece of tape around each joint to keep it together.
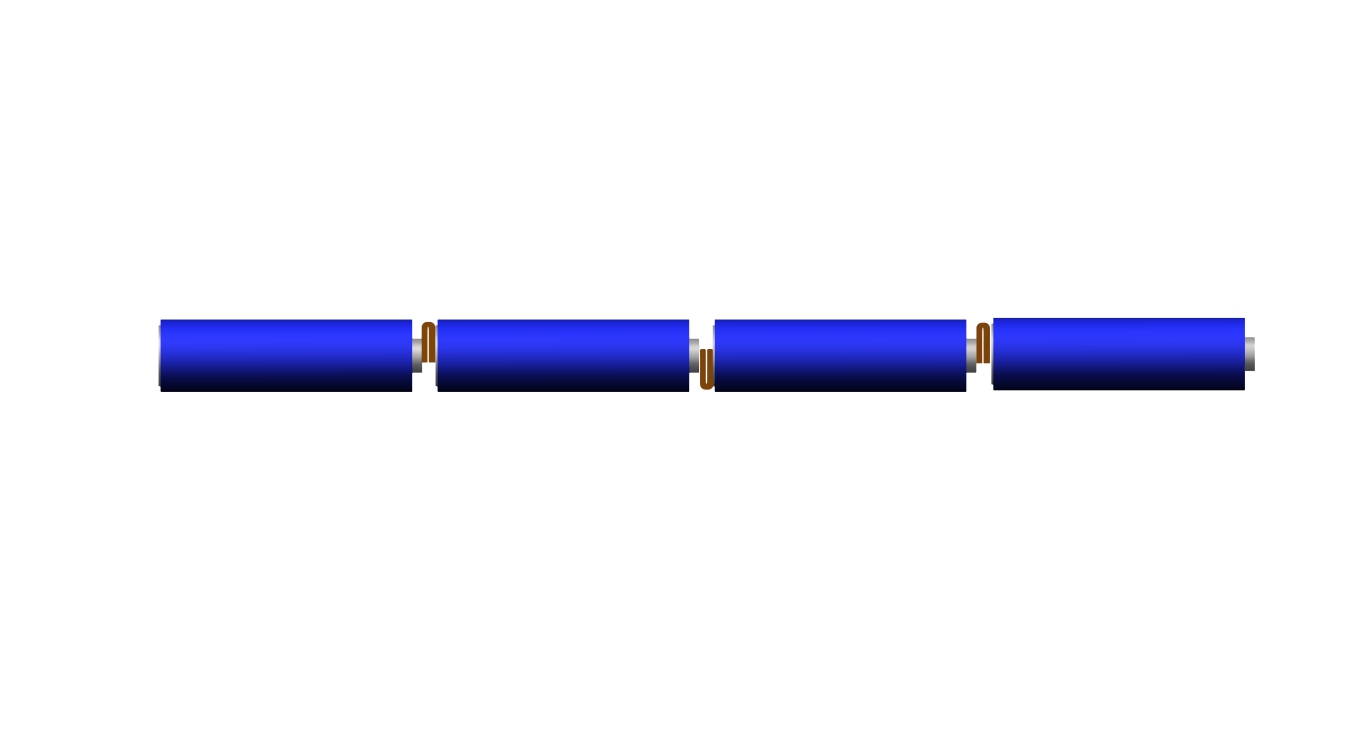
Step 3
Solder the two (4) cell packs together in parallel. Positive to Positive in the middle. (You can do negative to negative also if you wish). Attach a good length of appropriately colored wire also.

Step 4
Lay this out straight and solder the negative wire to the bottom and top of the pack. You now have two 4 cell packs in parallel. I shrink tube the pack, but it will work fine with just taping it together.

You could also use a single 4 cell tube pack, if they are the same type and amperage battery, and connect to your receiver along with your normal nose pack. I have the same type (4) cell pack in the nose of my Royale XC and with the three in parallel, I actually have 7200 mAh to run on.