Extra Long Reach Pliers
I have a couple of long reach tools, but none long enough for what I was working on. I've had a need for something that could open and close and get way down in a fuse. Sooo.... I needed to make something......
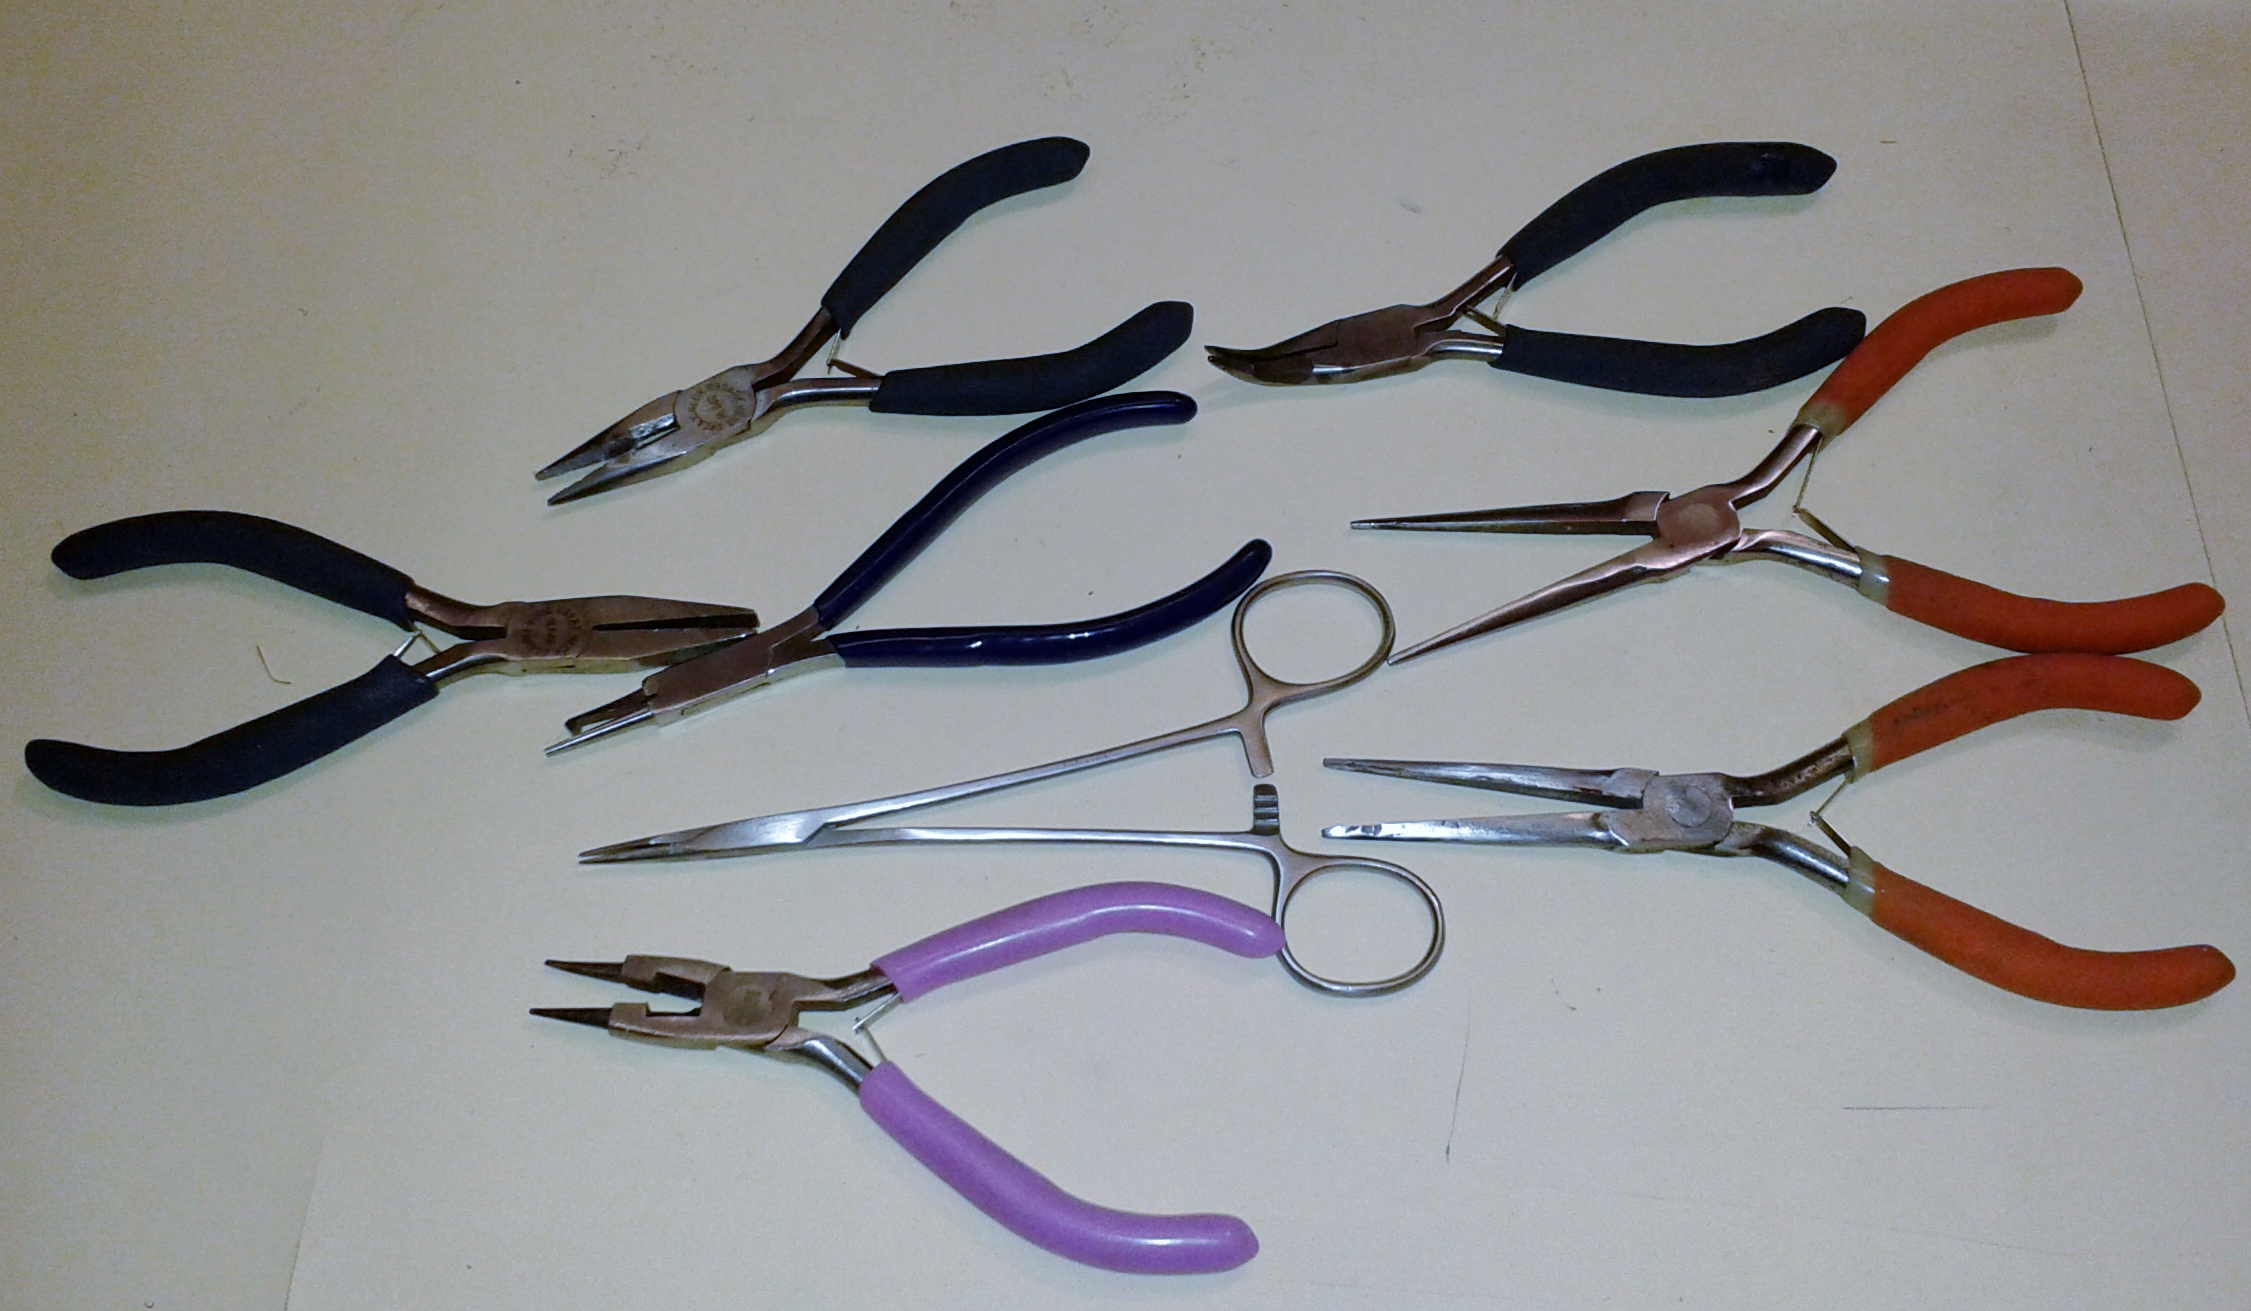
There are a number of types of long reach tools available. Here are a couple of mine -- they get a lot of use.
![]()
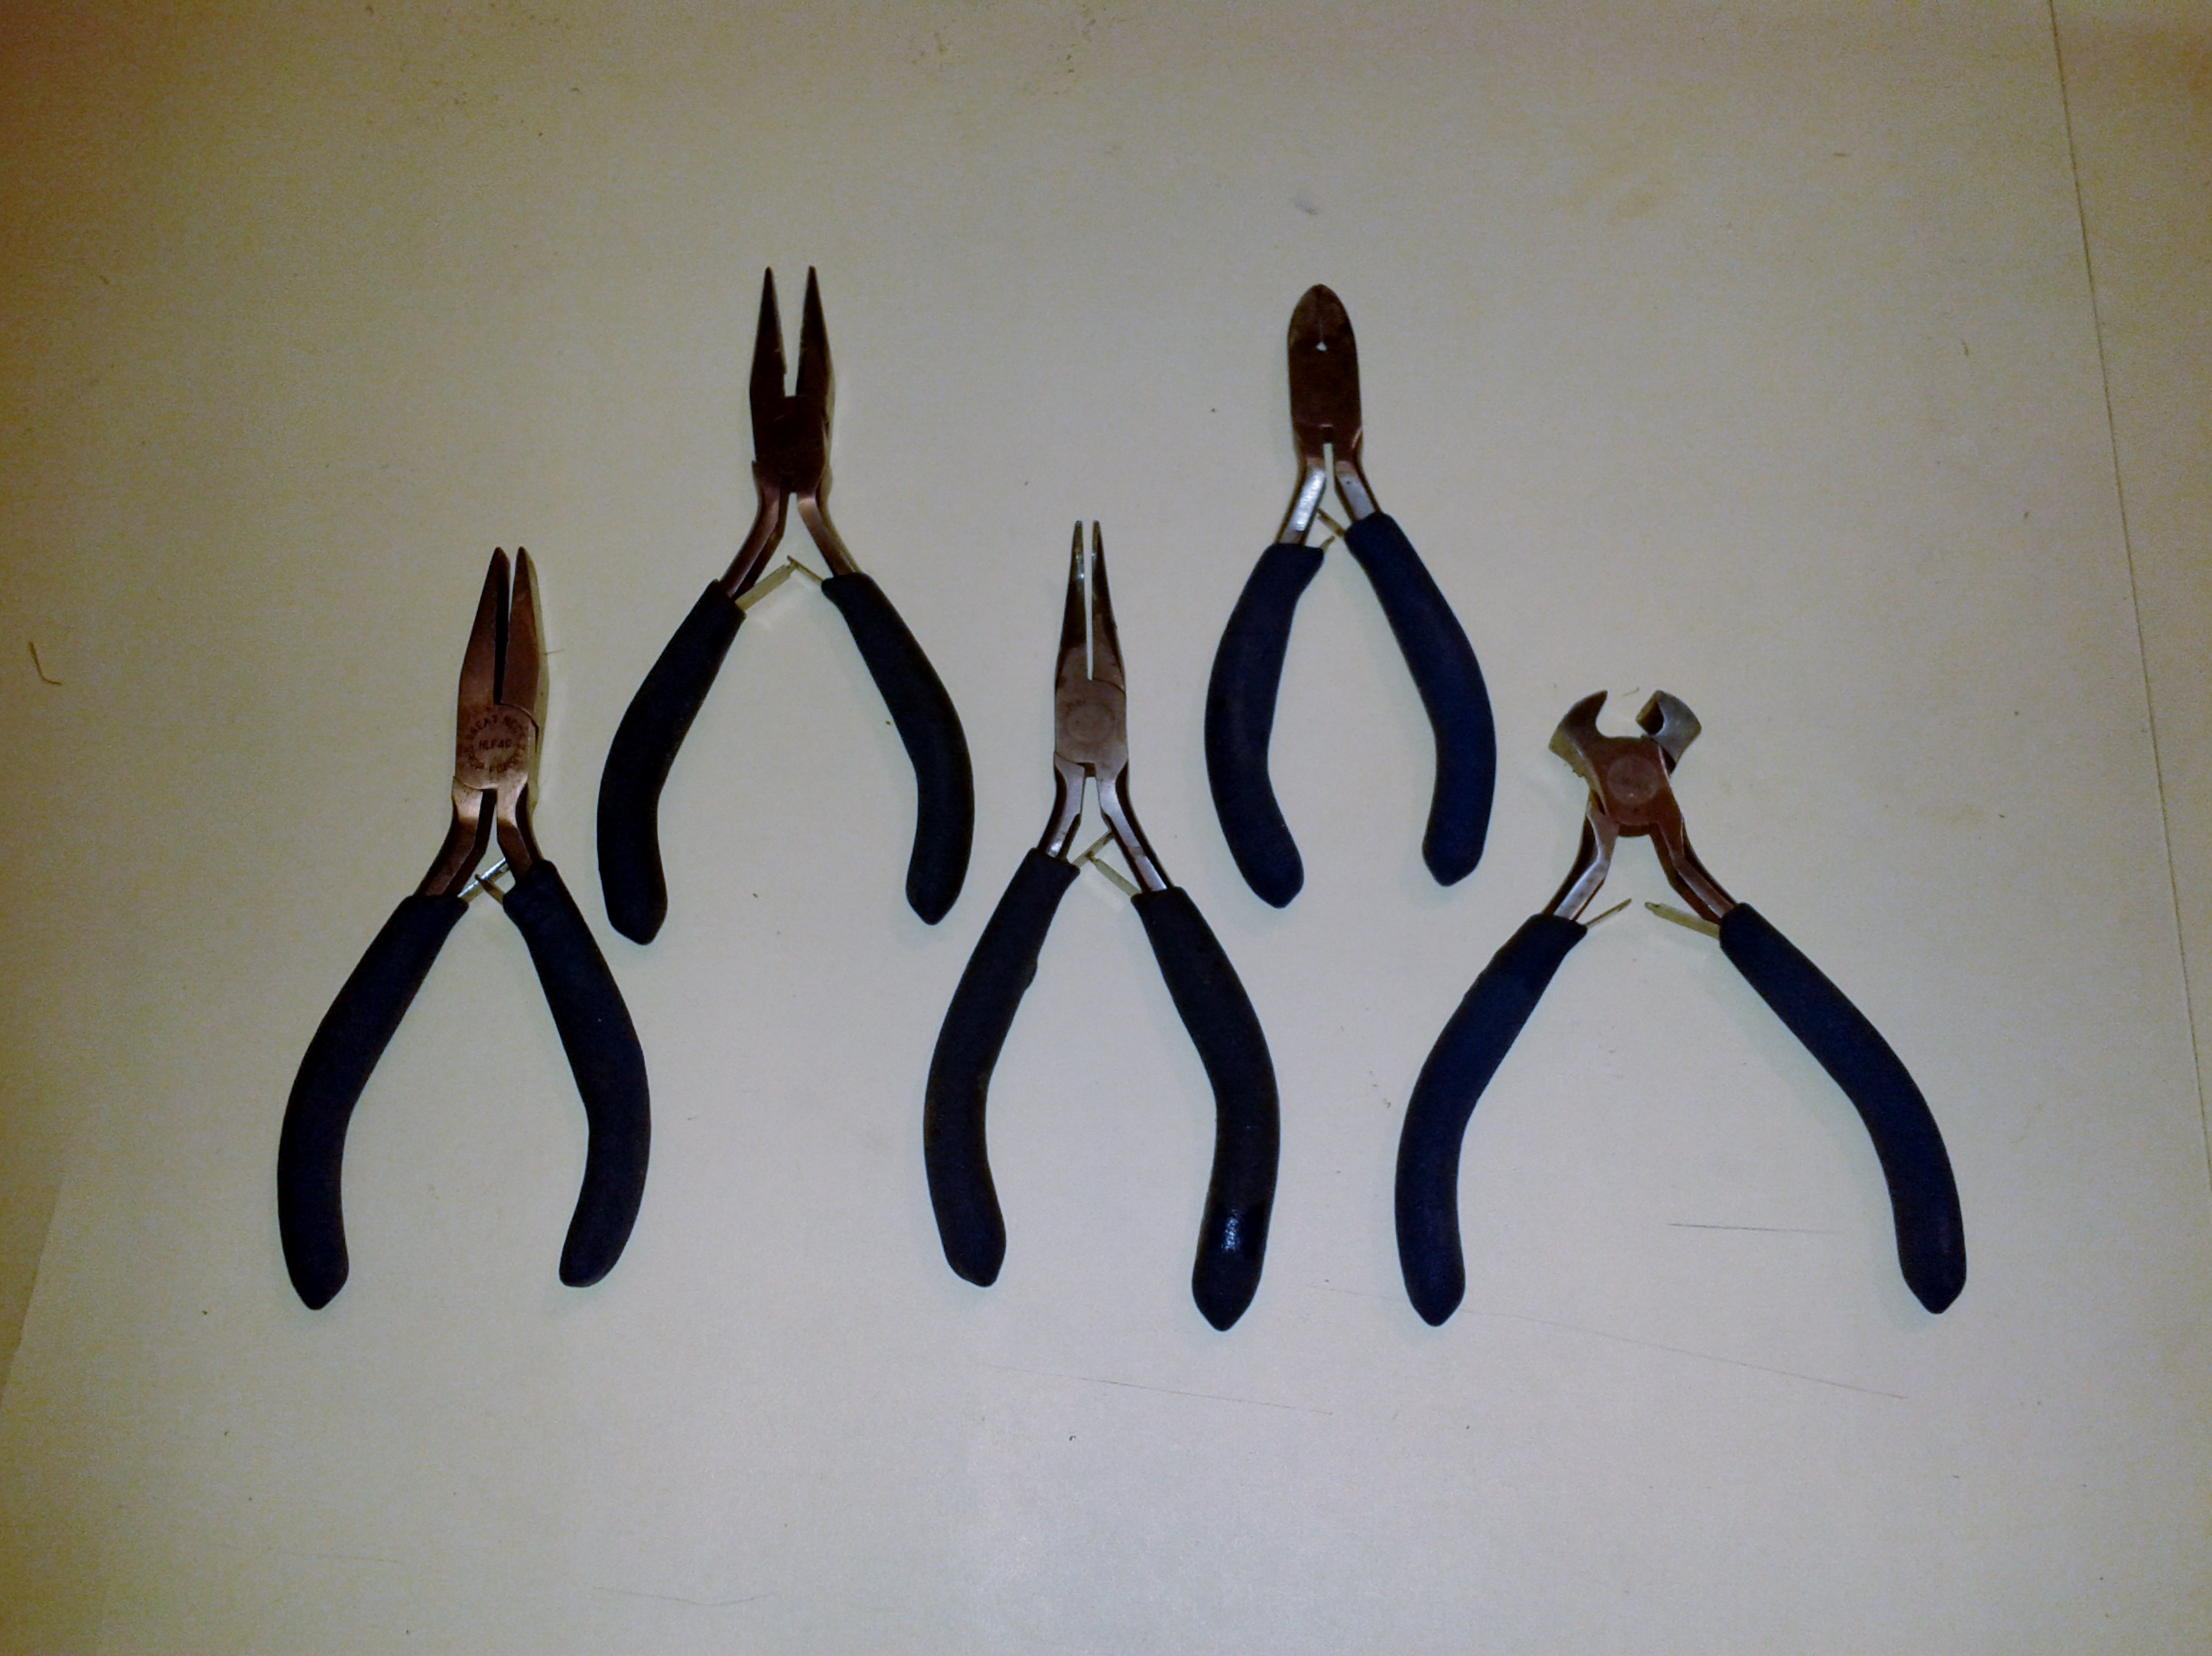
The first thing I did was look around at what I had extra of.
I had an old set from Harbor Freight that cost $5, so I picked out one that was not to long and not too short.
I grabbed a 3 ft. fiberglass tube (carbon will work fine also) from my stock.
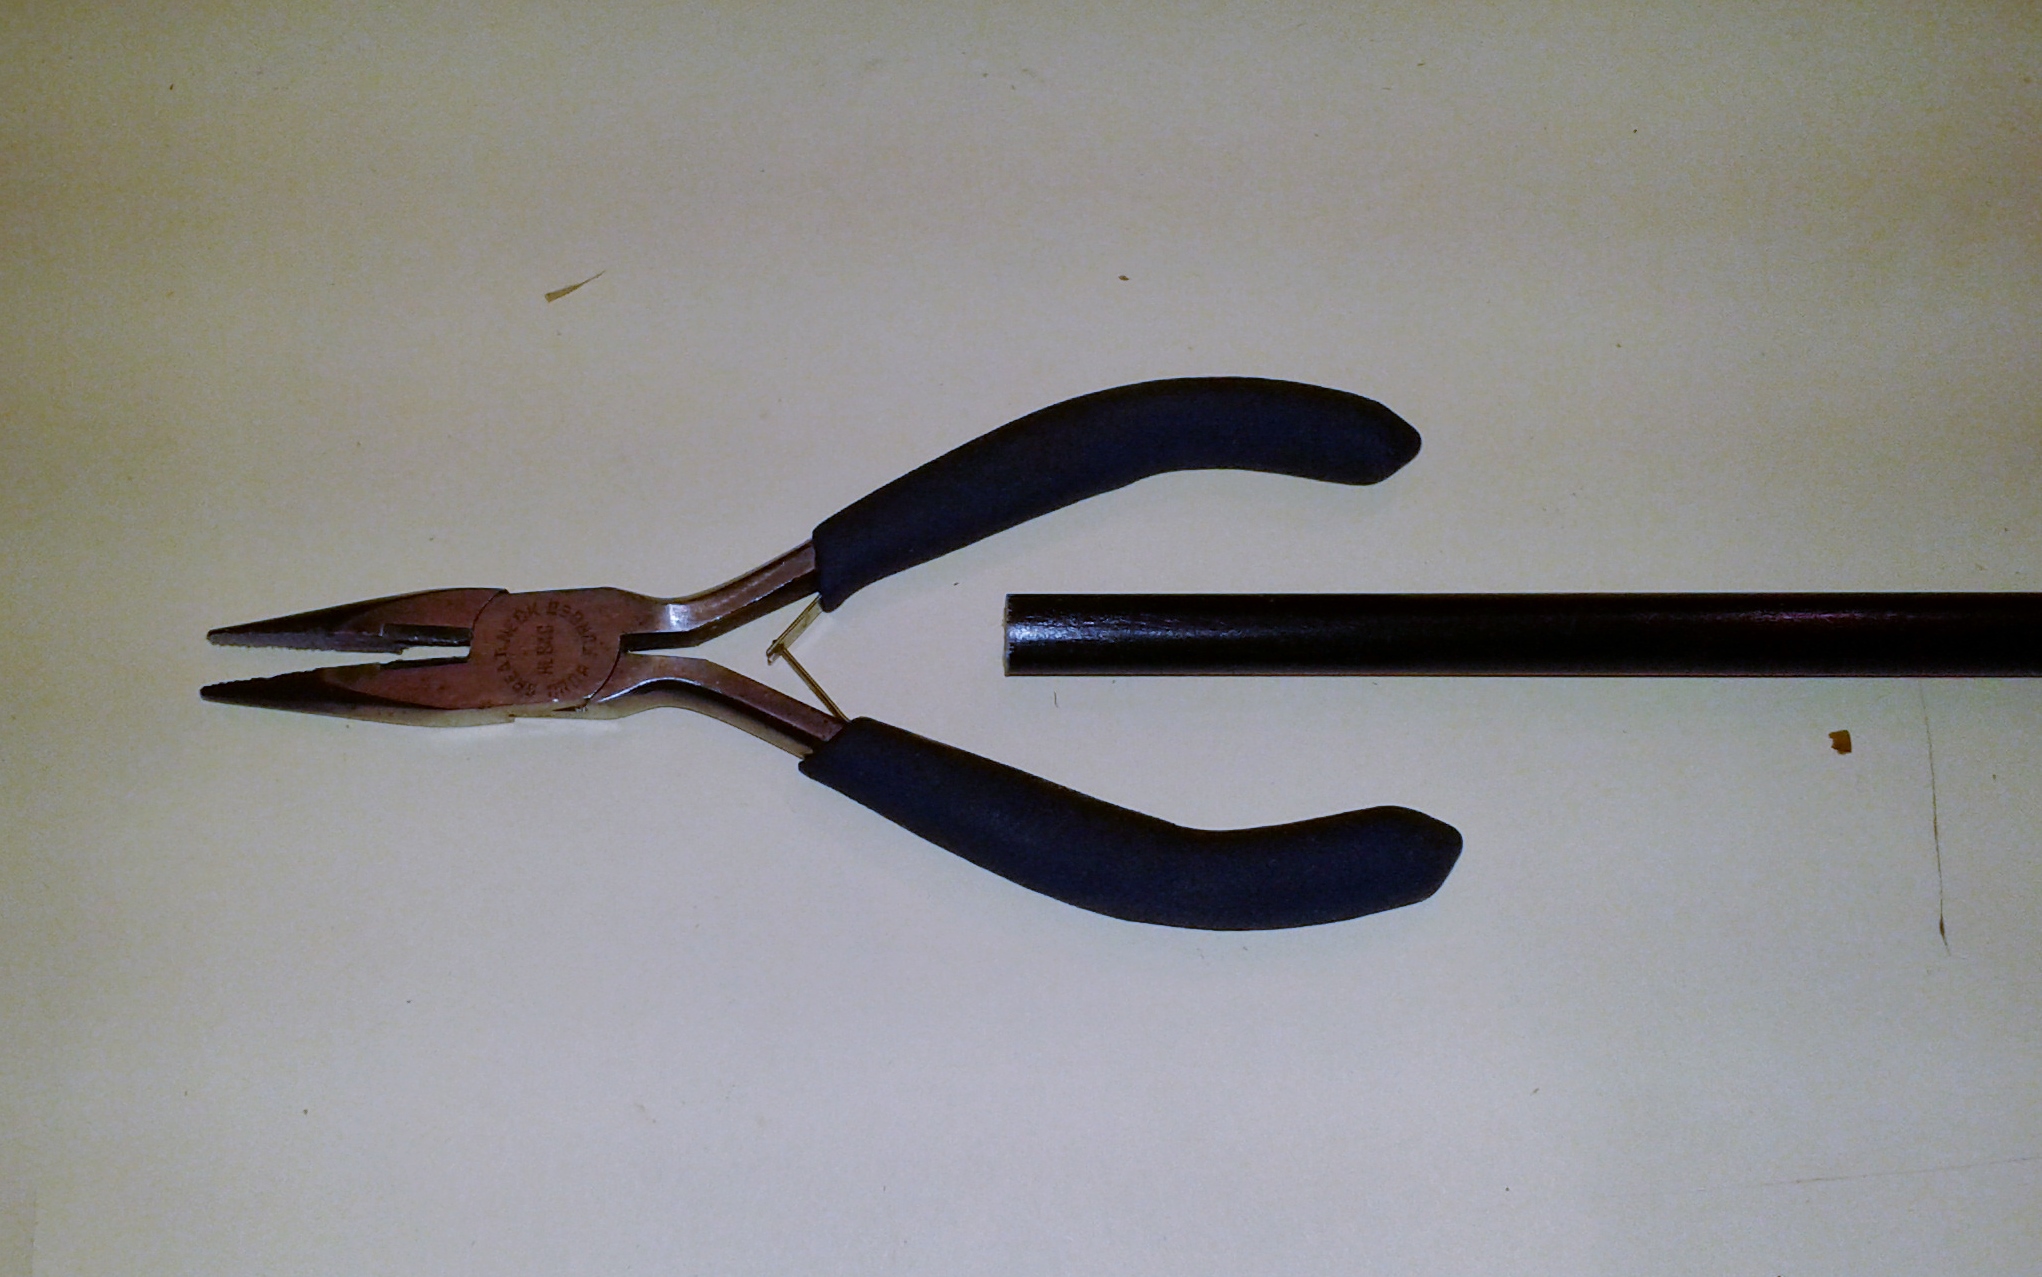 This looked good.
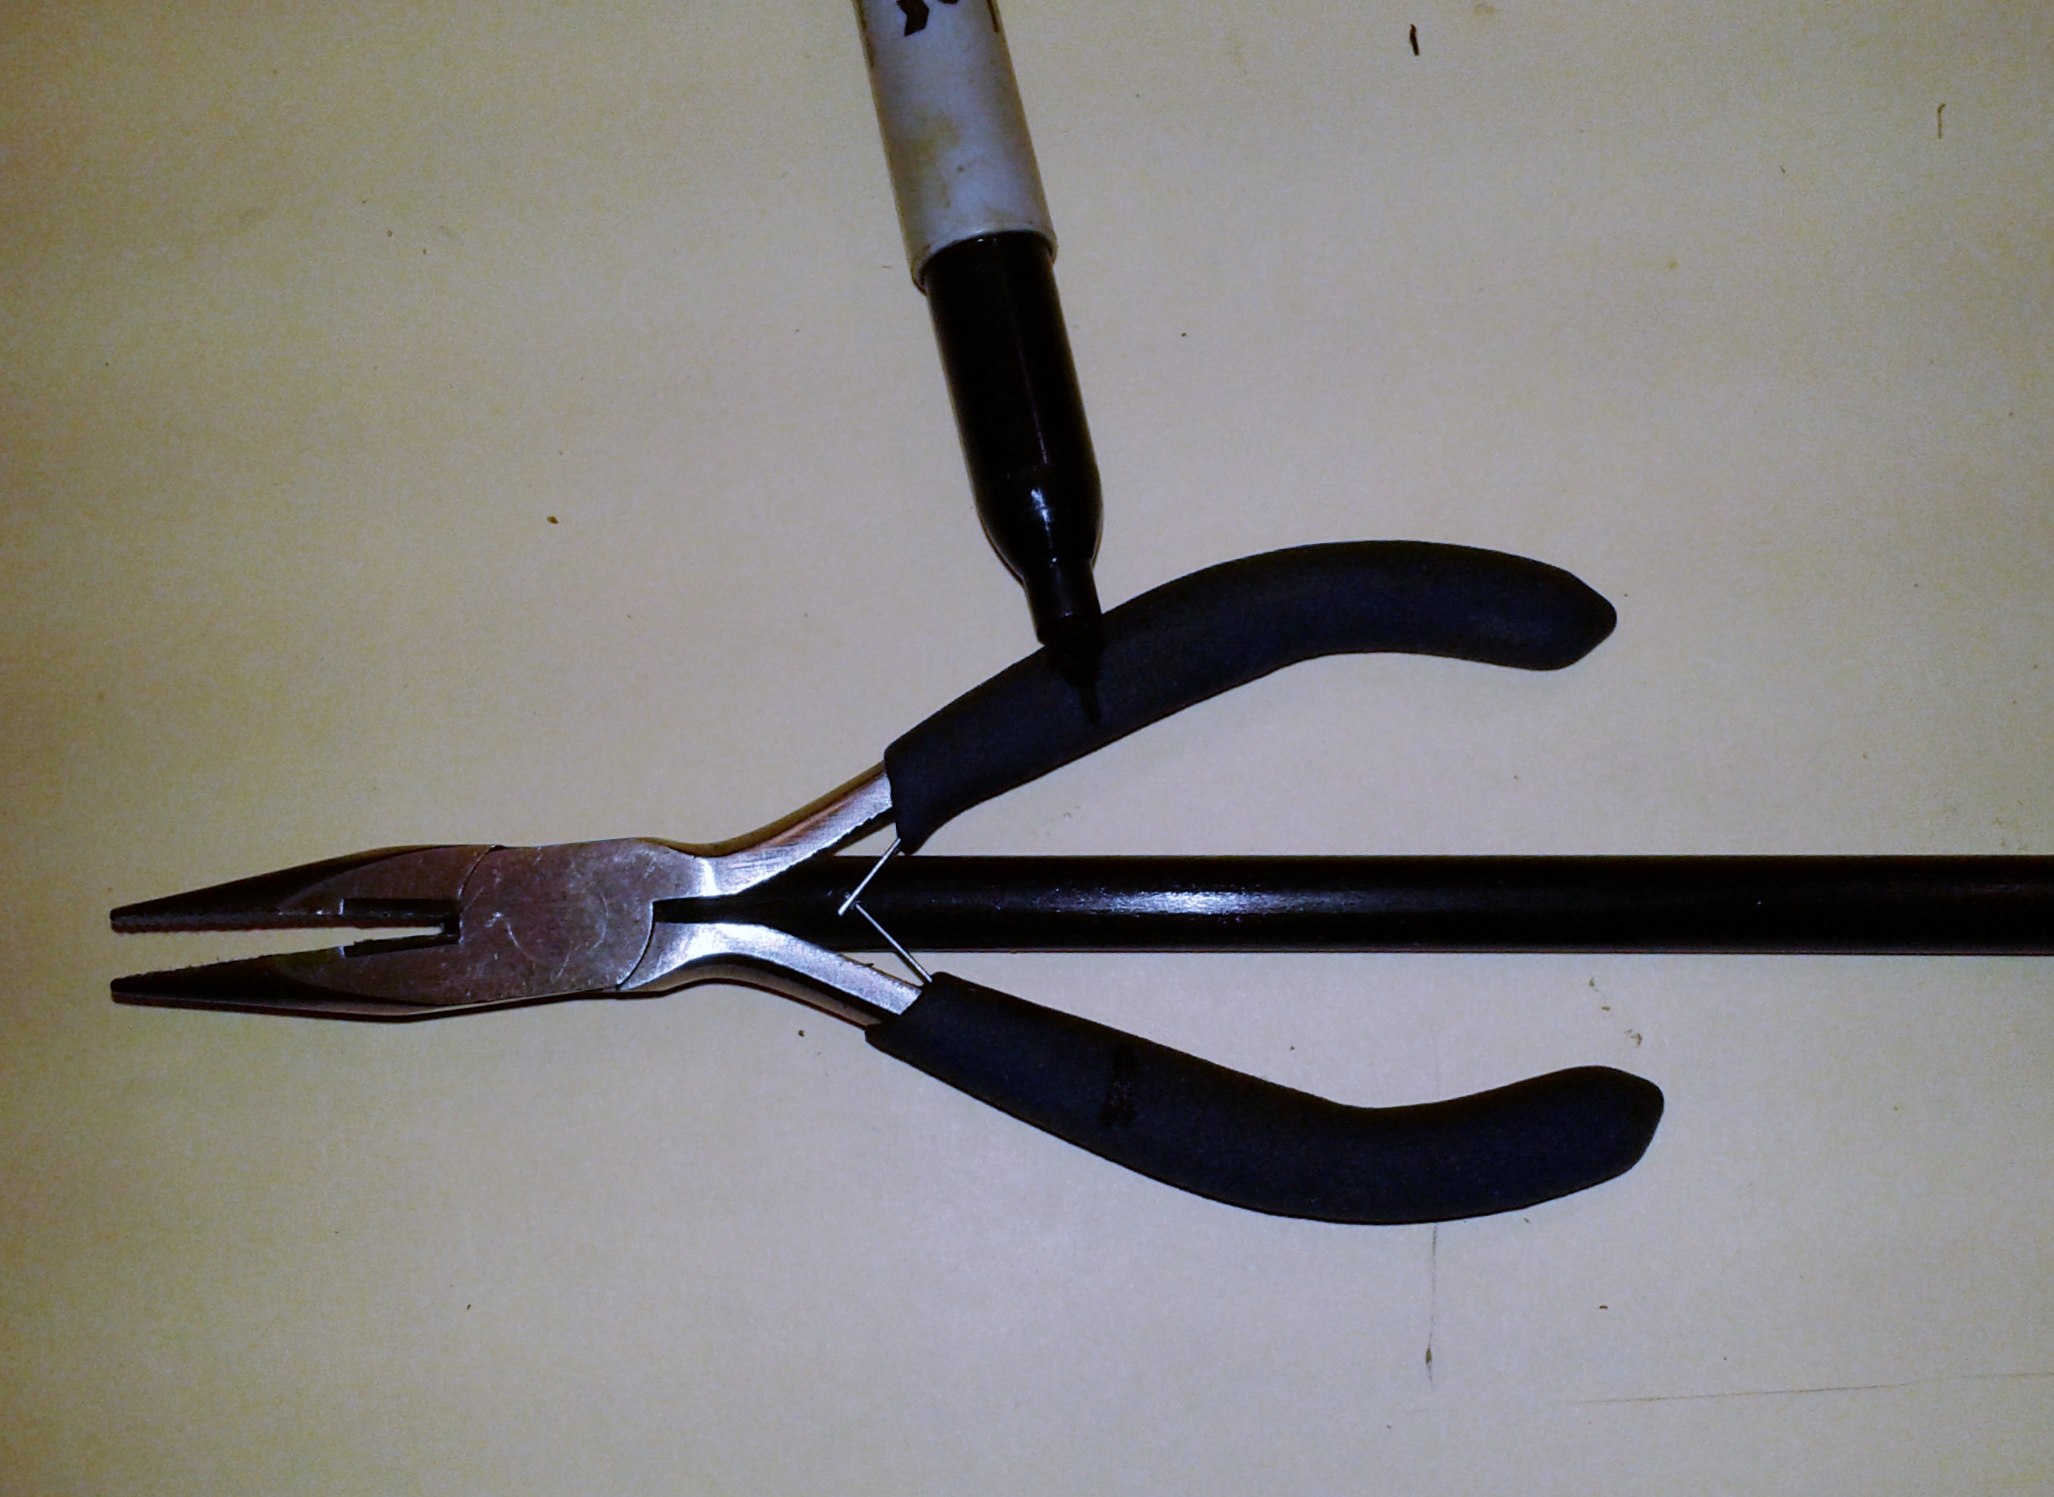 I marked where they should be cut off.
 I was thinking of keeping the springs, but later found them unnecessary.
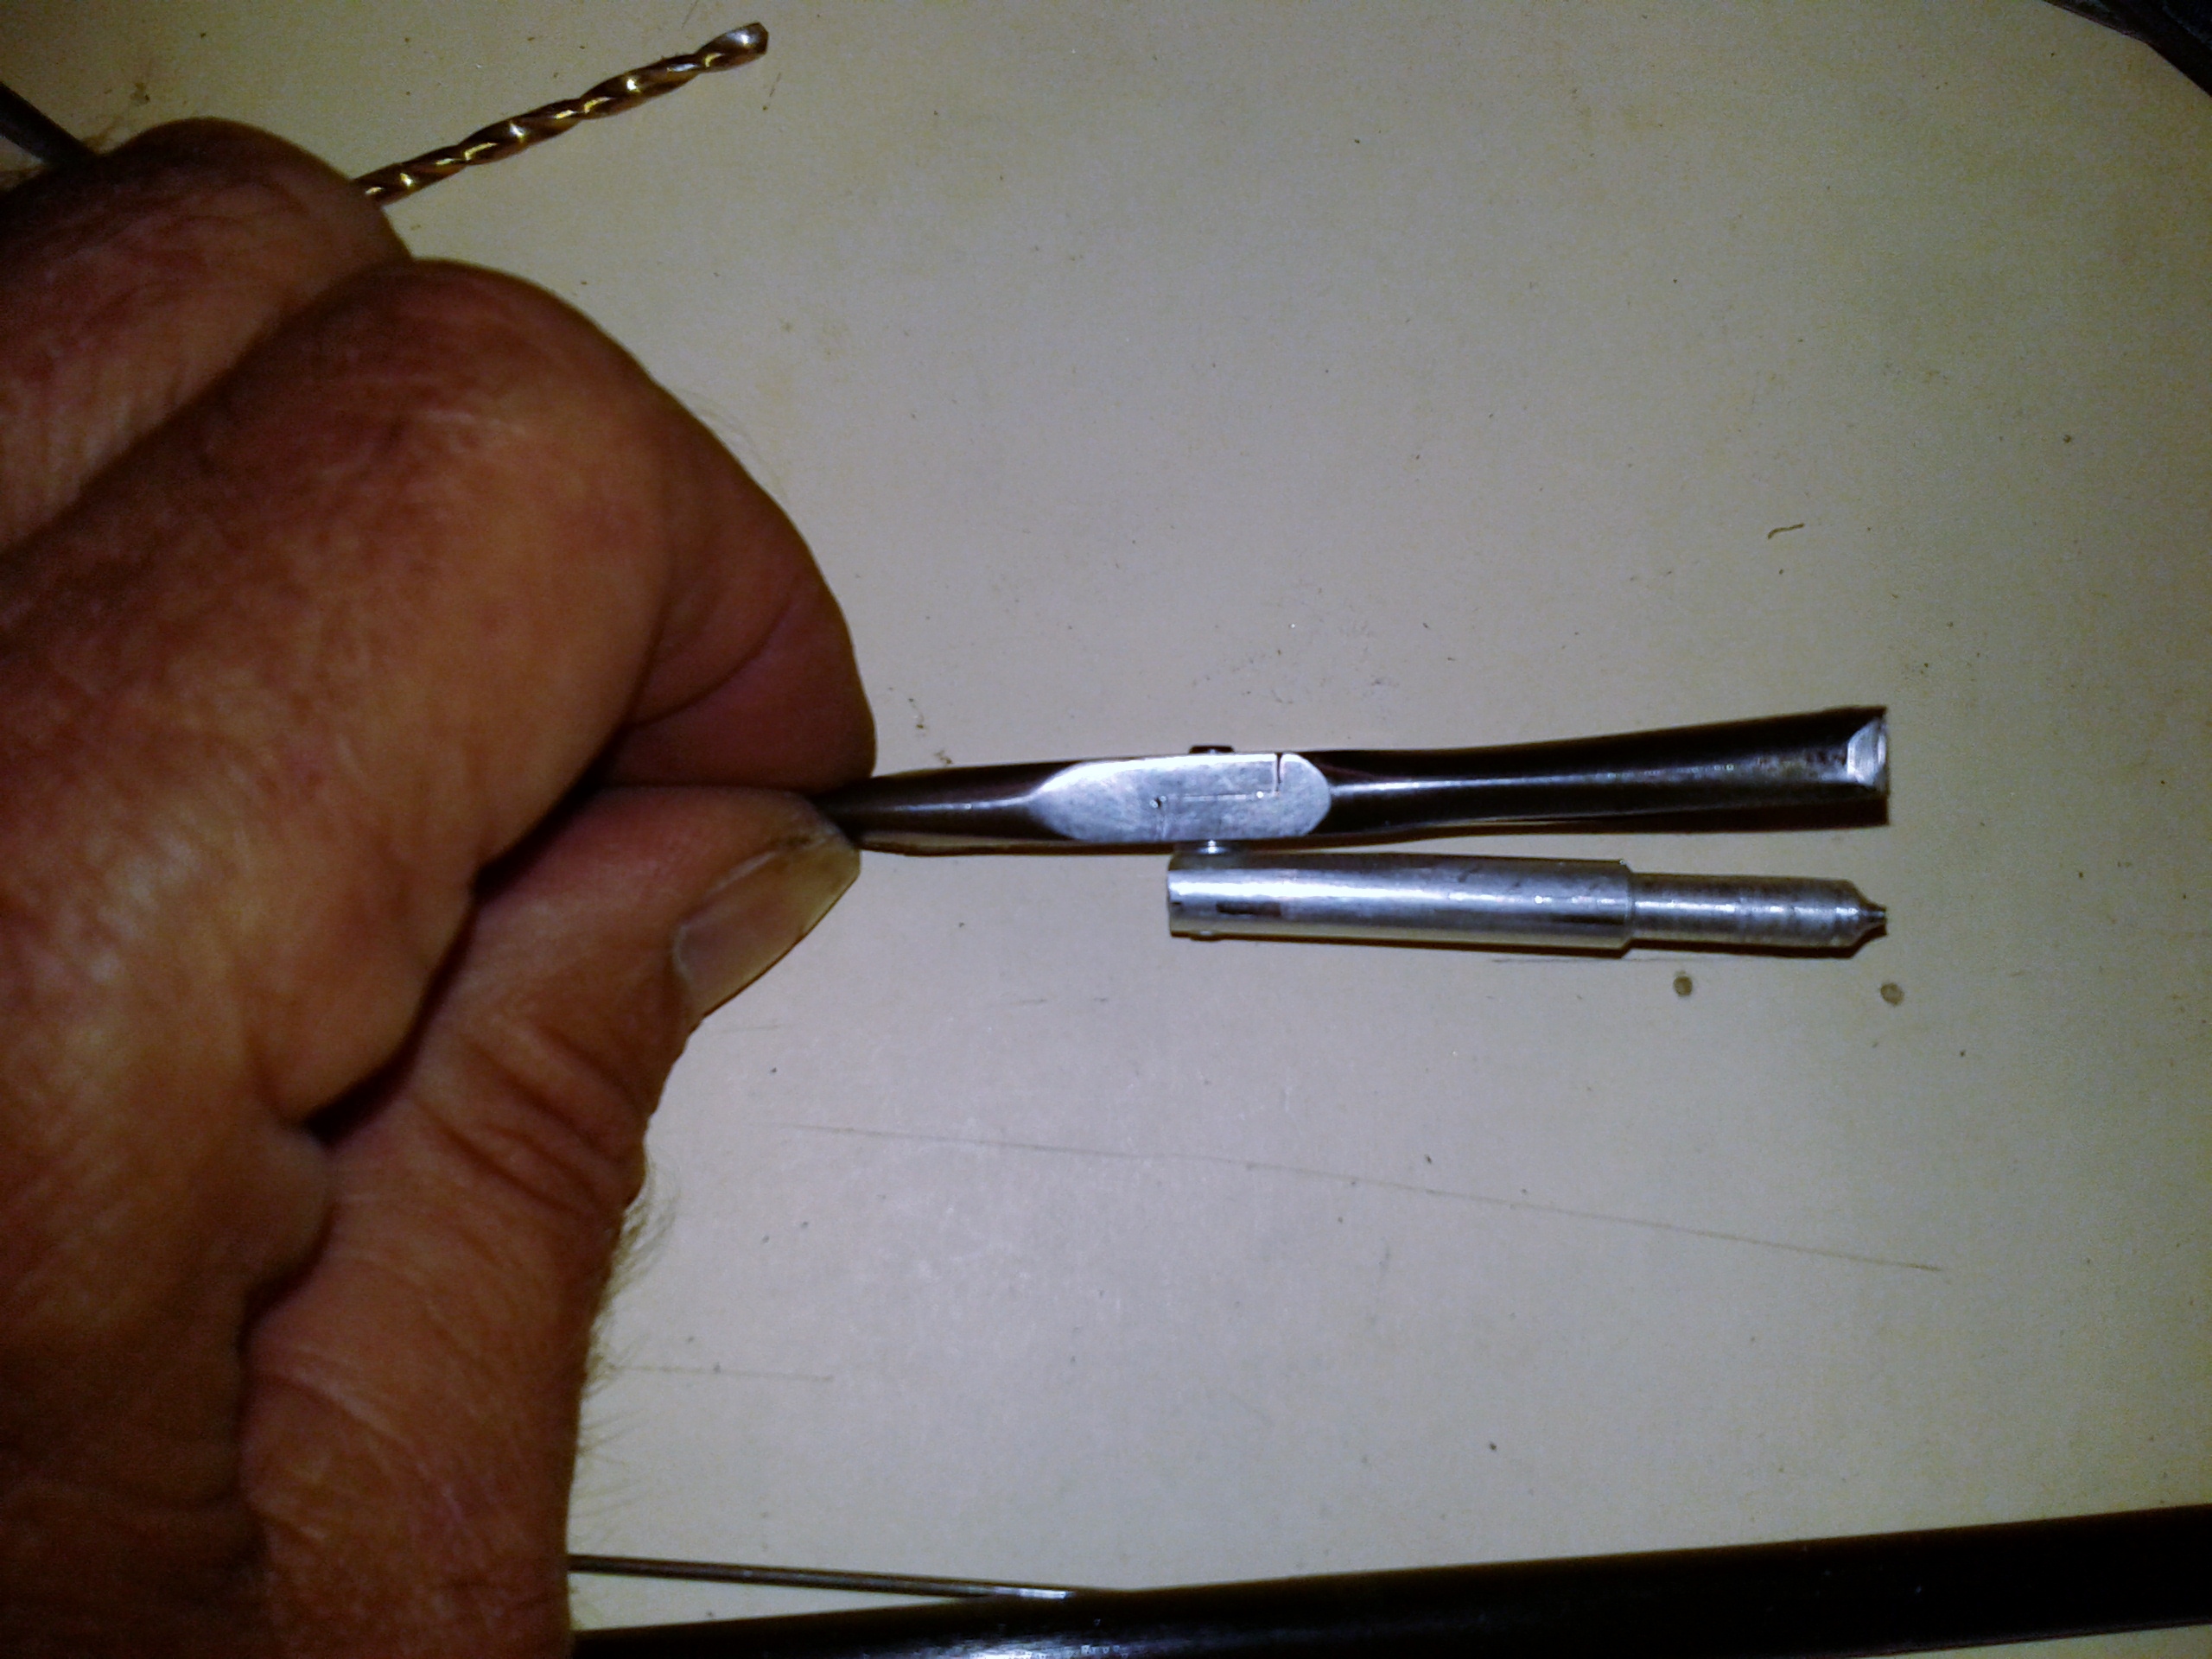
 After cutting and grinding, I drilled a couple holes for the pushrods.
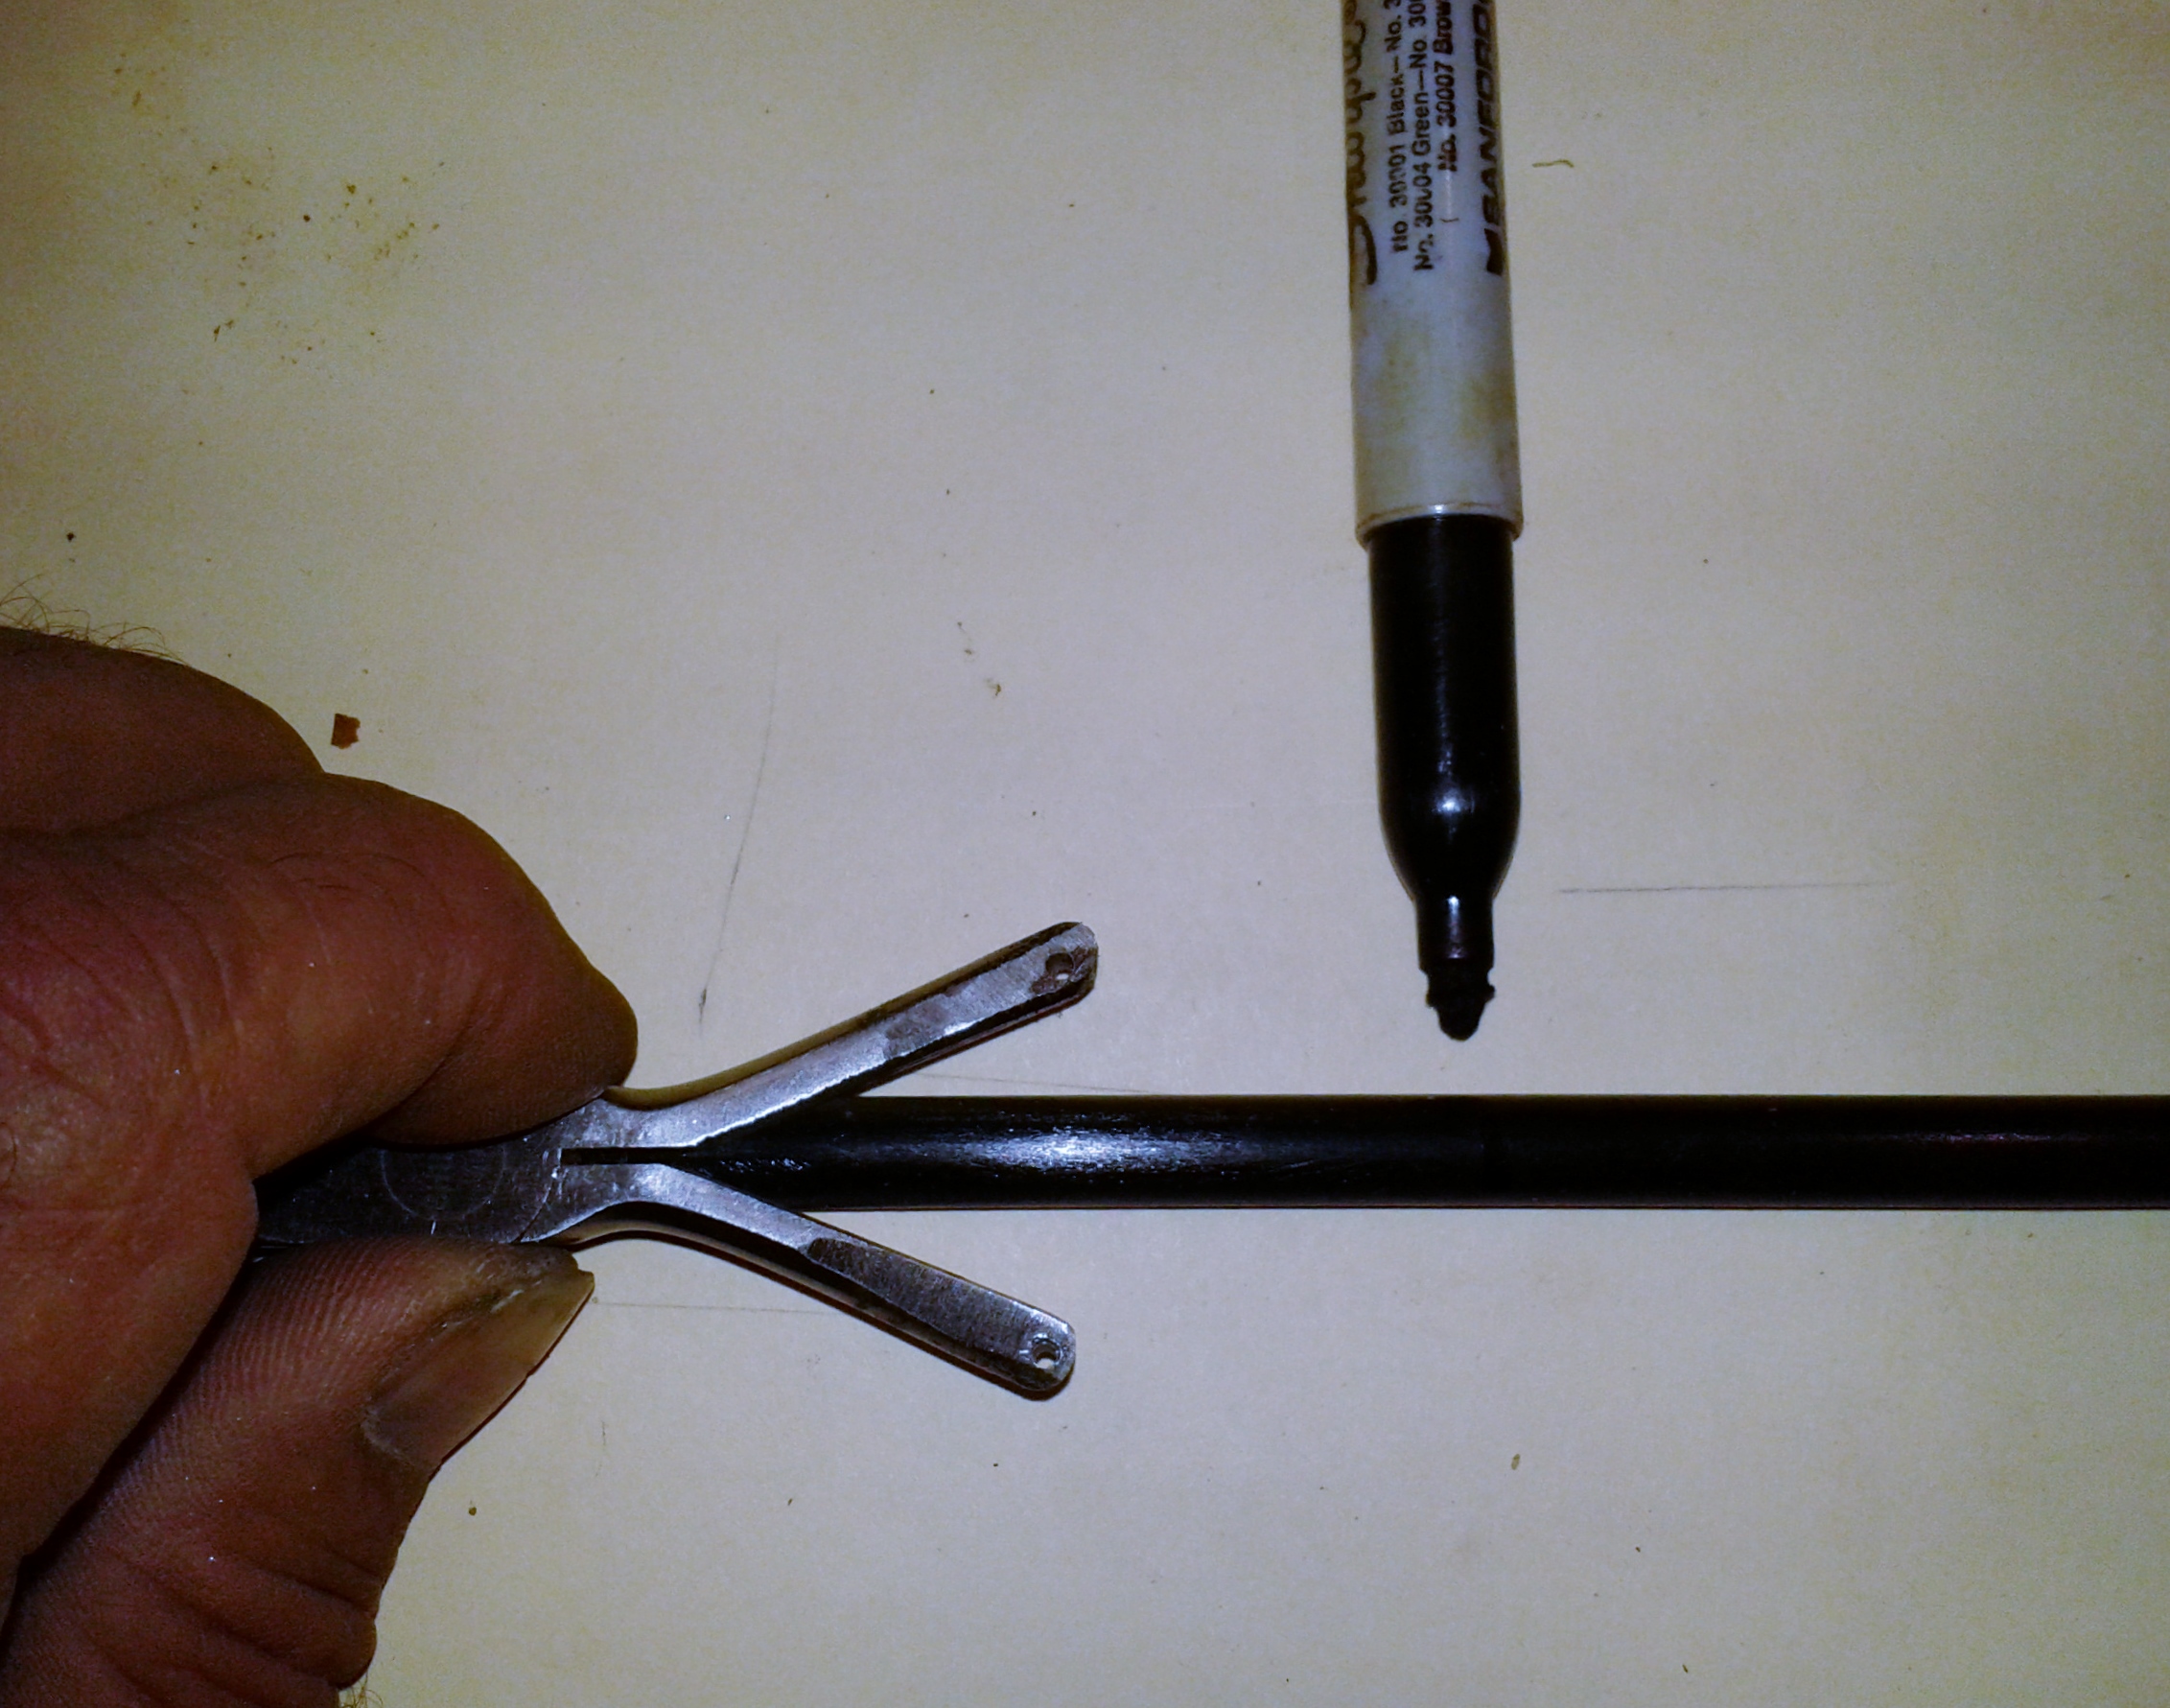 I marked a place that look reasonable for the pushrods to exit.
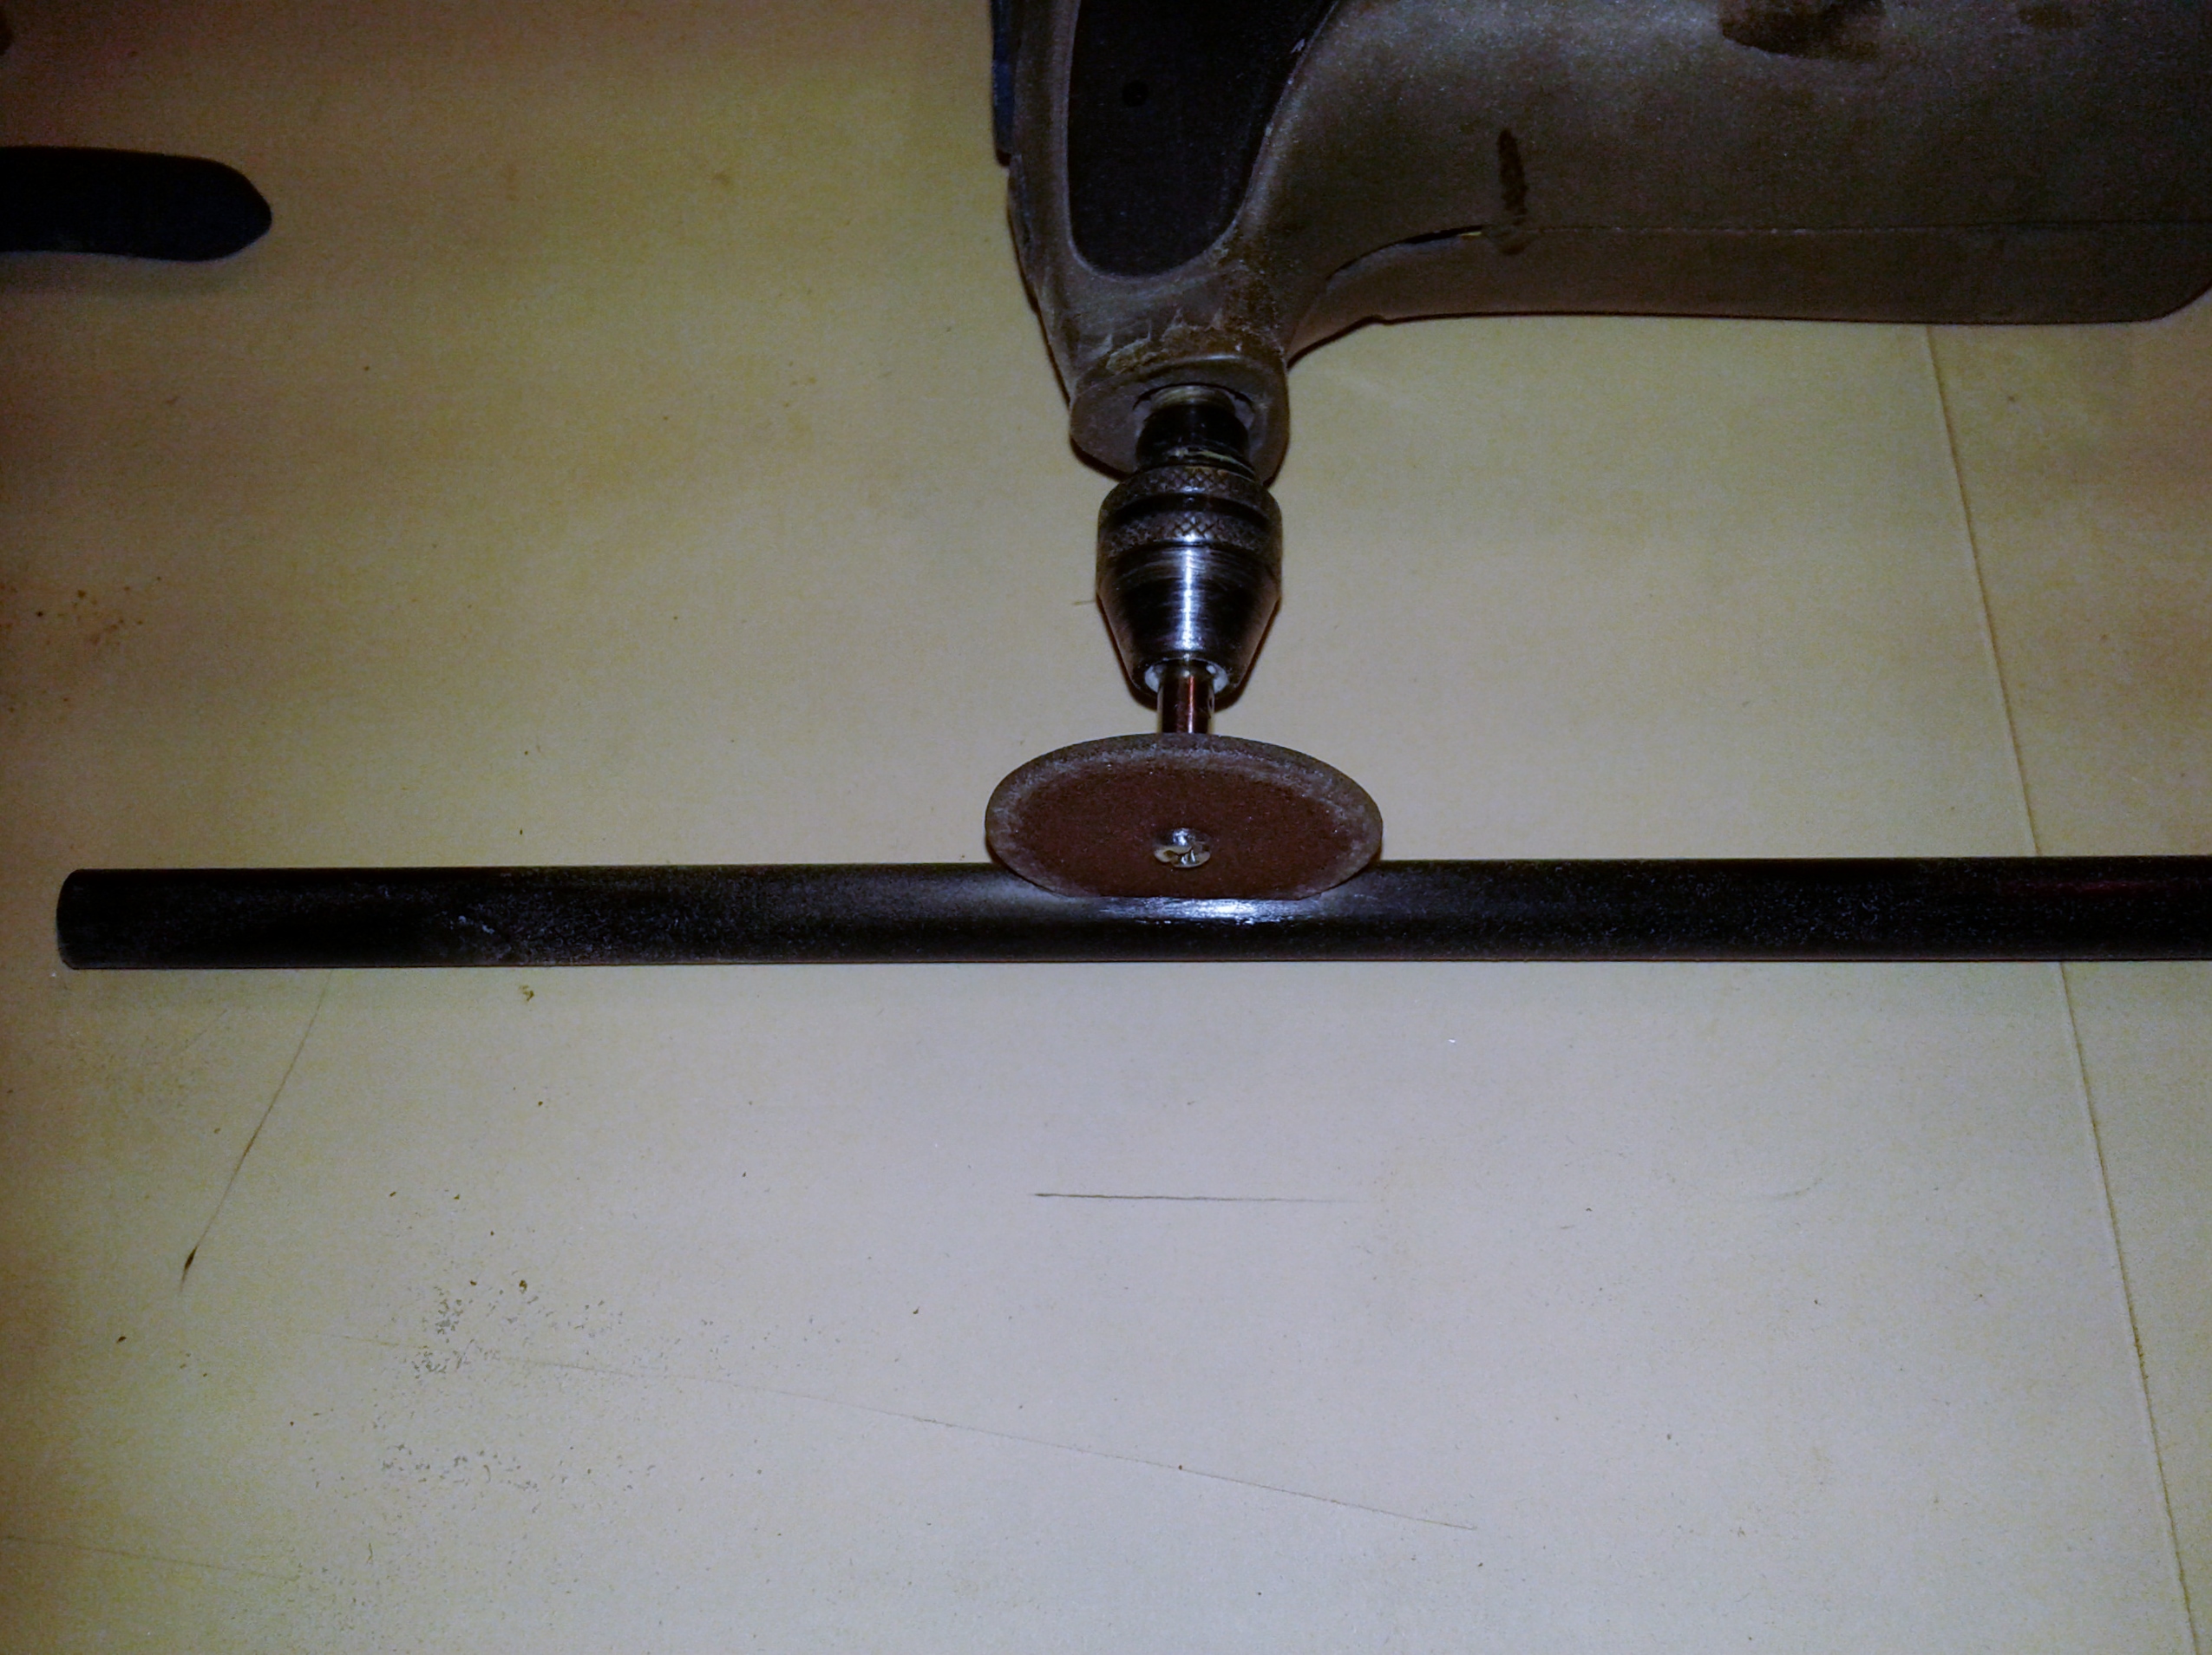
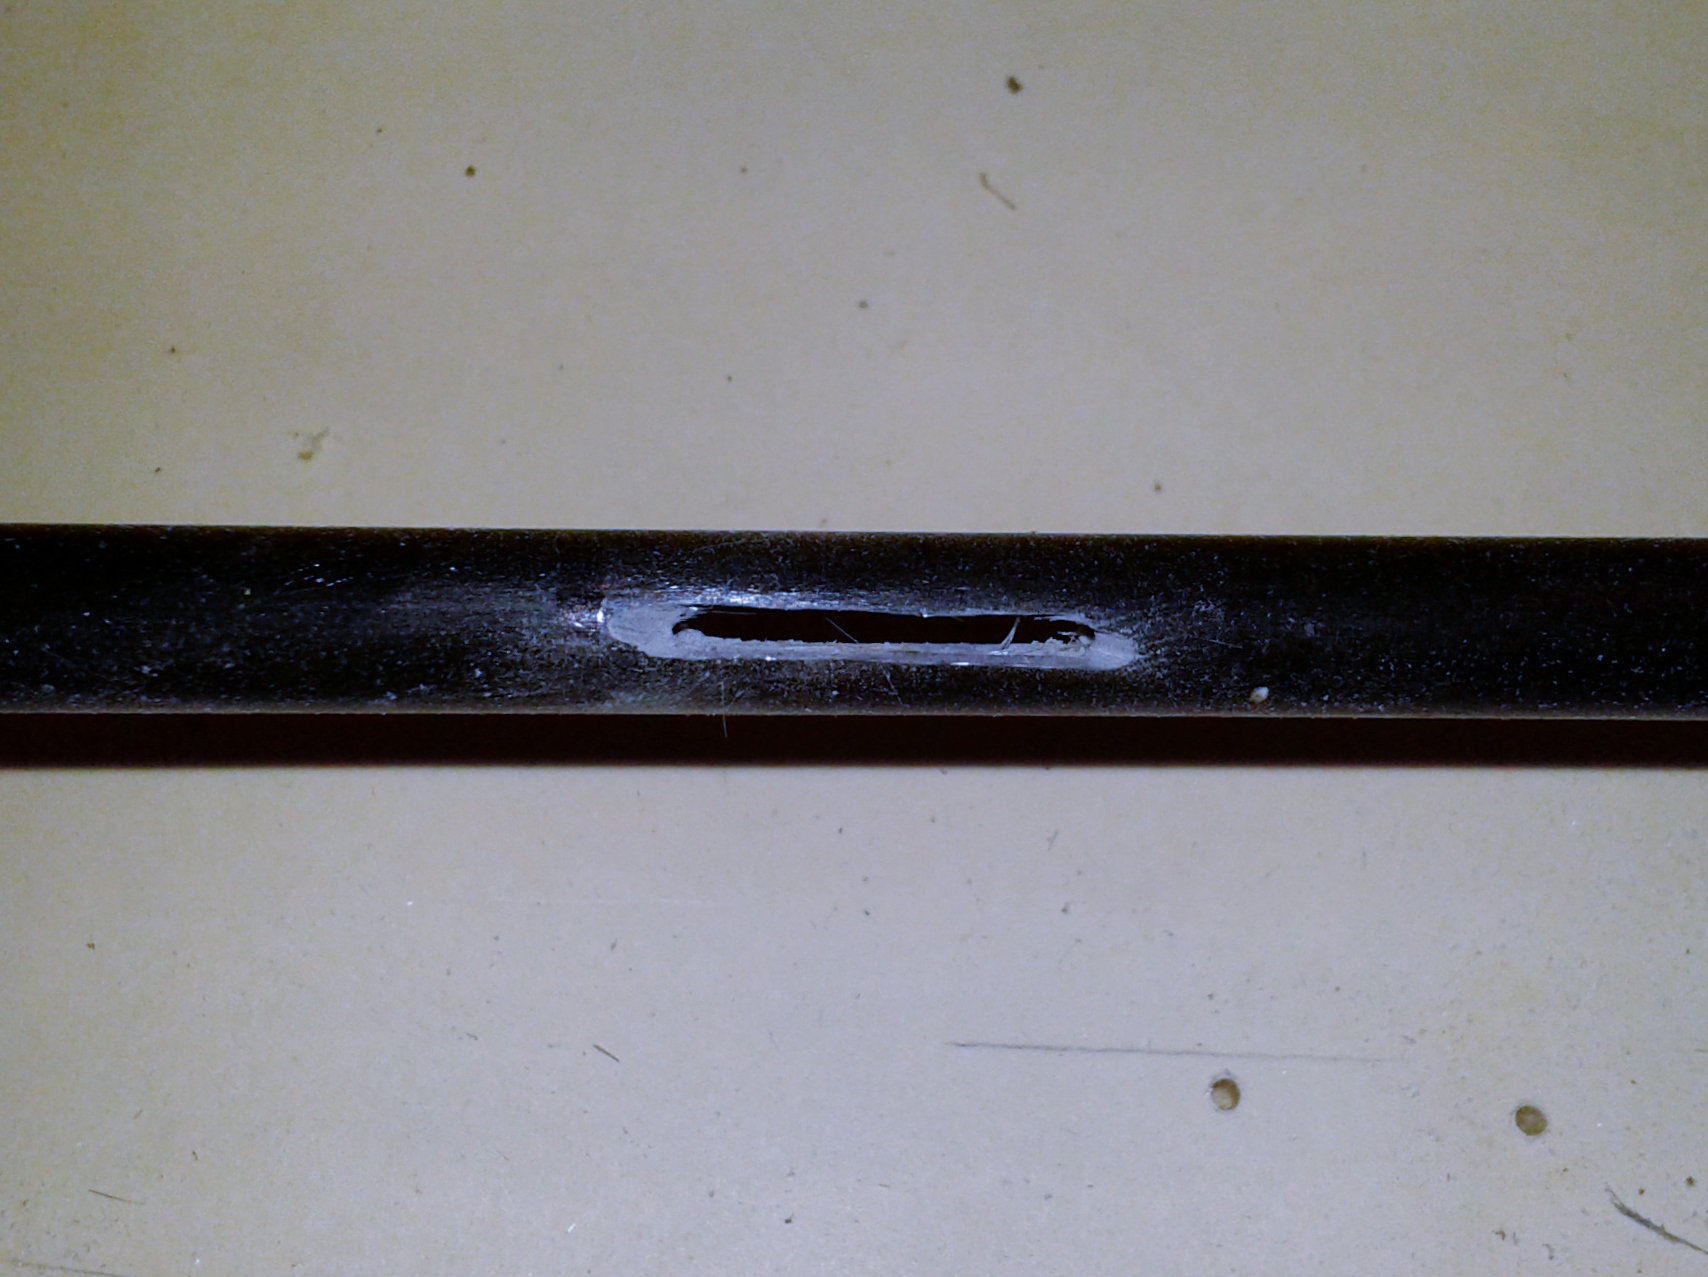 I cut a slot in each side of the tube about 3/4 in long.
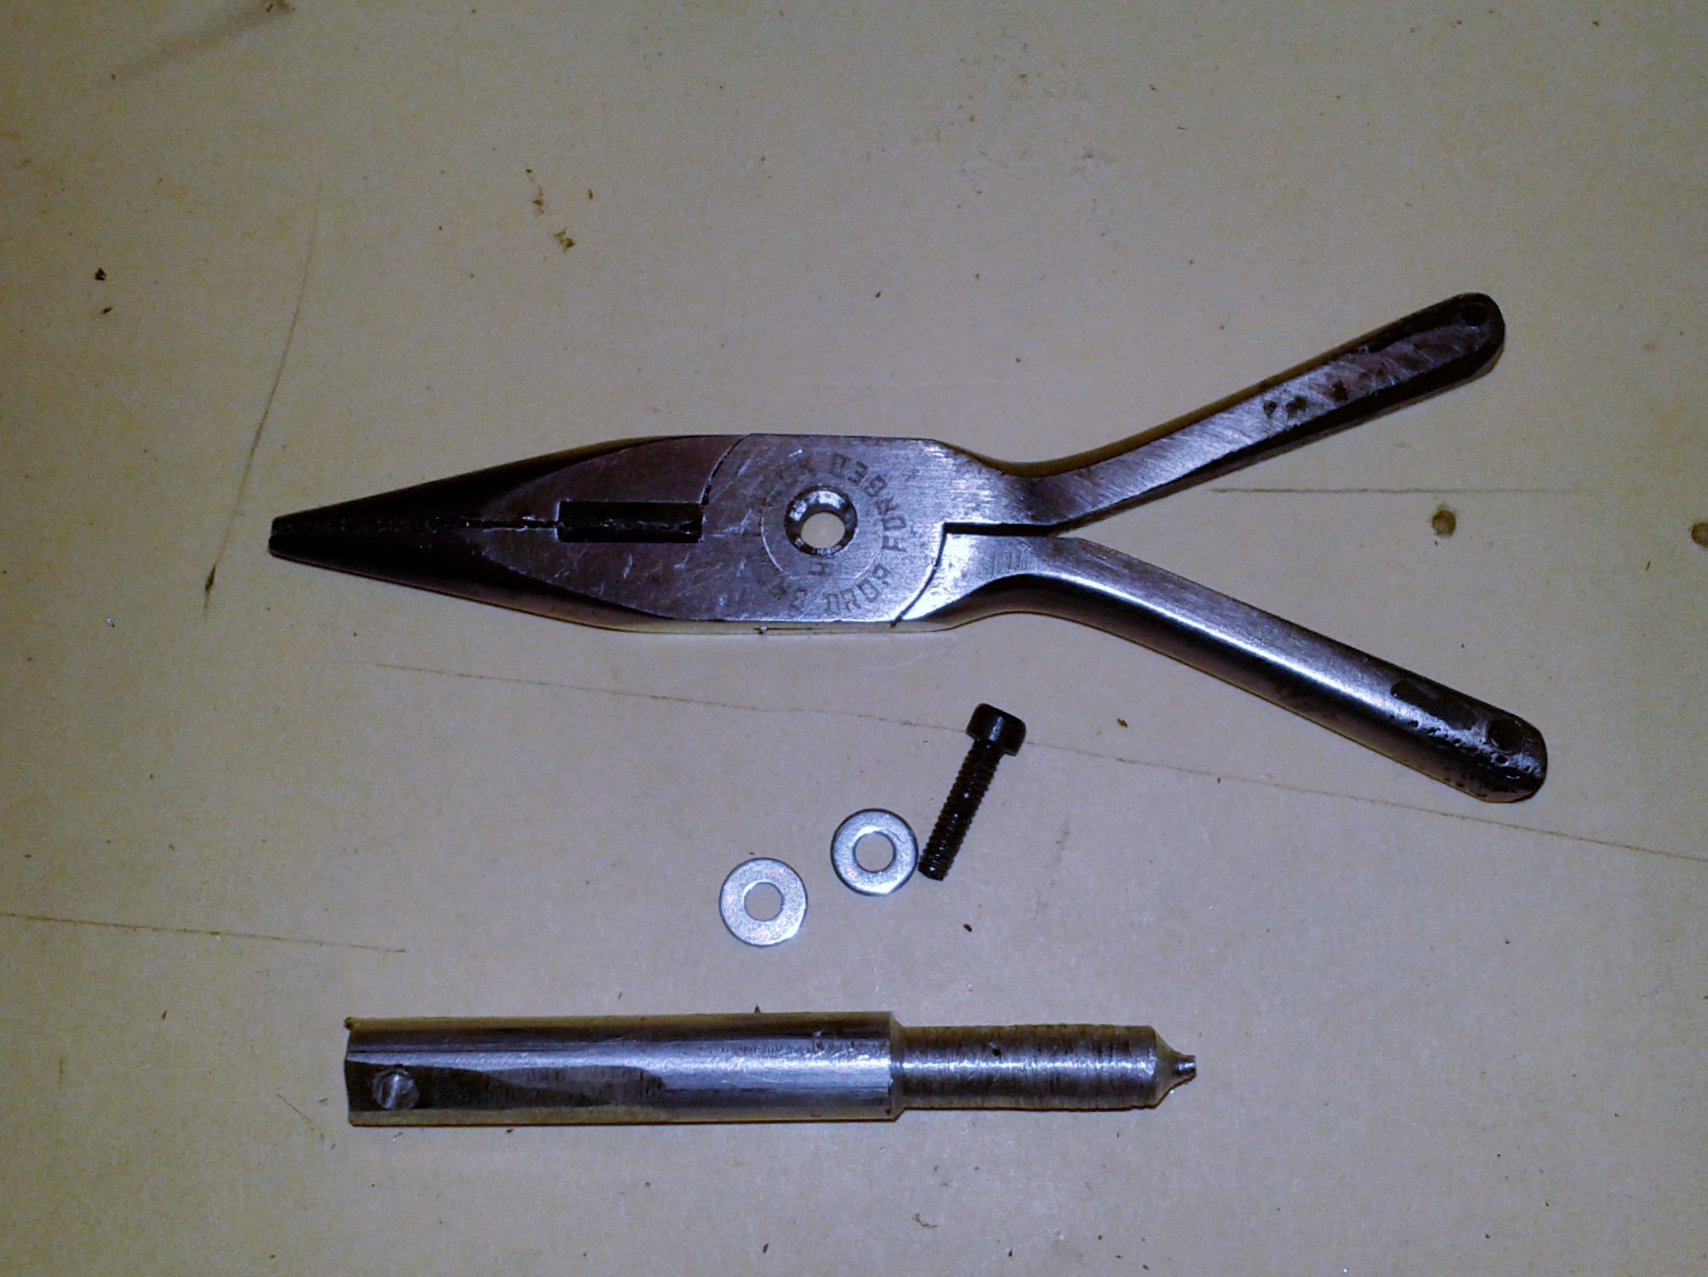 I drilled through the center of the pliers, took a piece of aluminum rod, turned
down one end to fit the tube, drilled and tapped it for a tiny socket head cap
screw. You could just as easily fill the rod with epoxy or a dowel and put
the pliers right on the rod. Just account for that when making the slots.
I drilled through the center of the pliers, took a piece of aluminum rod, turned
down one end to fit the tube, drilled and tapped it for a tiny socket head cap
screw. You could just as easily fill the rod with epoxy or a dowel and put
the pliers right on the rod. Just account for that when making the slots.
 I added the washers as spacers and screwed it together.
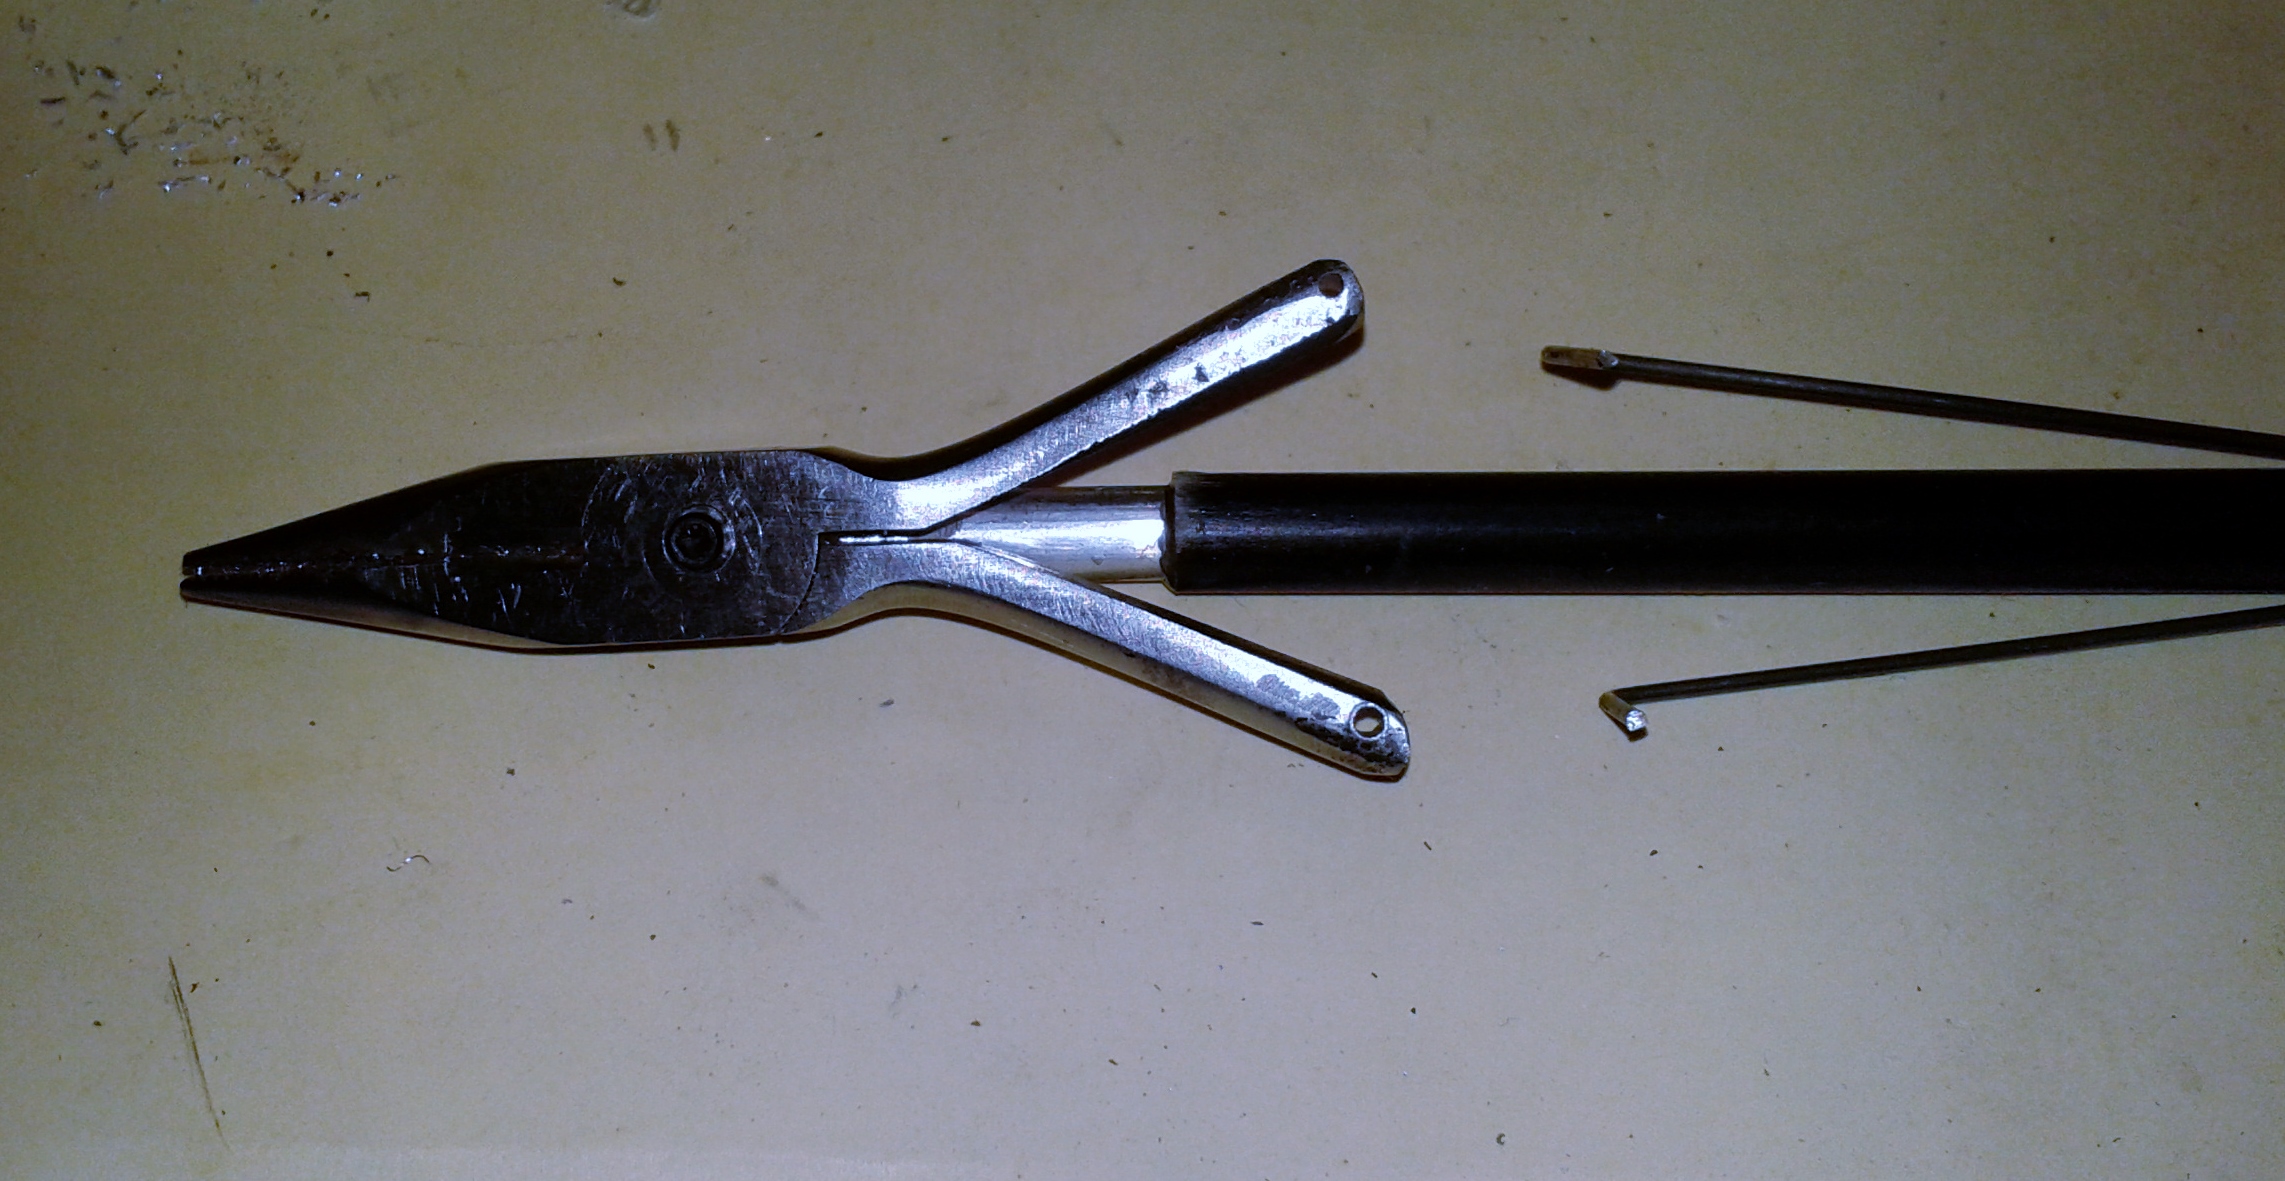 Glued it in the tube. Then I inserted some music wire into the slots in
the tube and bent the ends at 90 deg.
Glued it in the tube. Then I inserted some music wire into the slots in
the tube and bent the ends at 90 deg.
![]() Put the rods into the holes in the handle.
Put the rods into the holes in the handle.
Went way down to the other end .....
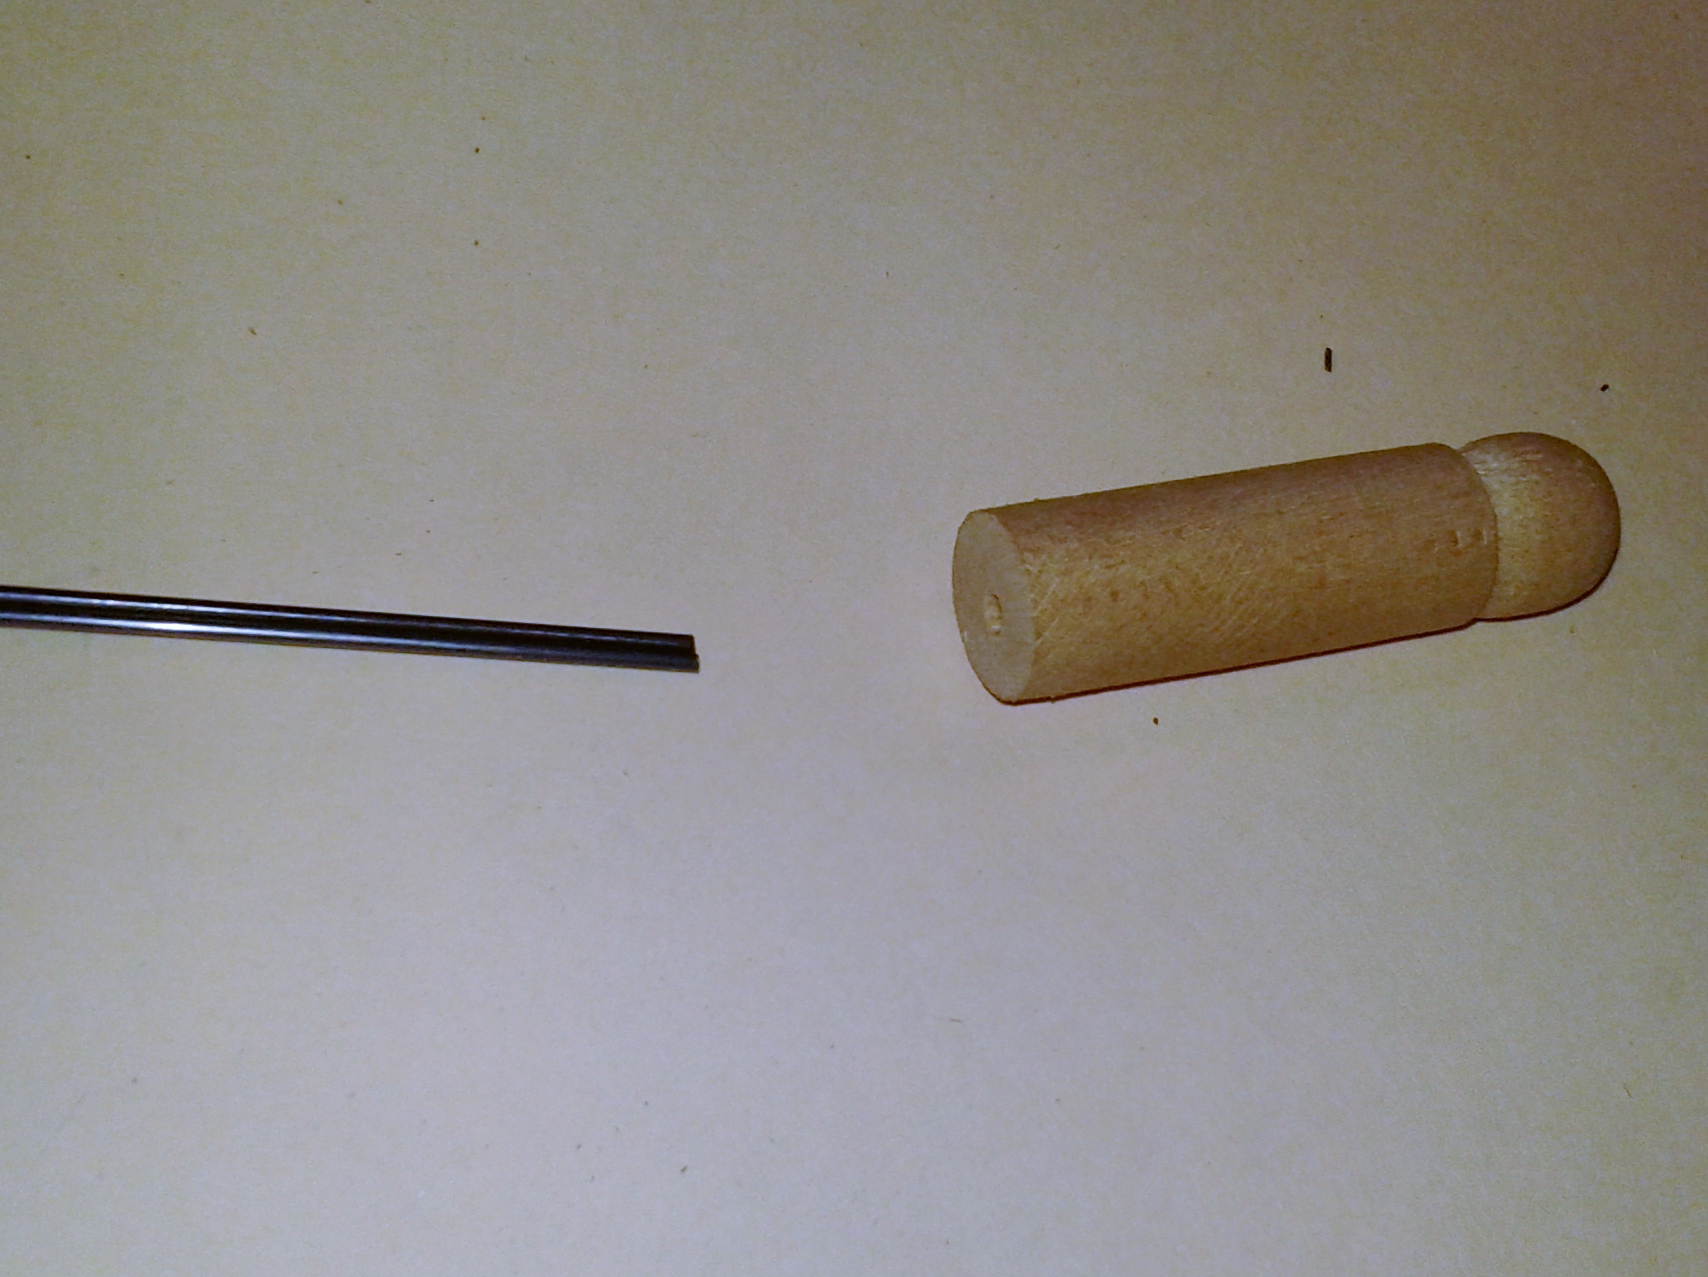 Made a simple handle out of a dowel.
![]() Glued it on.
Glued it on.
![]() Left plenty of rod out the end so it could flex if necessary.
Left plenty of rod out the end so it could flex if necessary.
![]() And there it is. It worked amazingly well. 45 minutes work.... that I
wish I had spent years ago when I was building (and repairing) a lot of planes.
And there it is. It worked amazingly well. 45 minutes work.... that I
wish I had spent years ago when I was building (and repairing) a lot of planes.
Here's how I used it to repair an Aquila XL fuse.
![]() Long reach pliers and a tube with a balloon.
Long reach pliers and a tube with a balloon.
 Marked where the pliers and cloth should end up.
 Cut and wet out a piece of carbon cloth.
 Rolled it and grabbed it with the pliers
 Stuck it down in the fuse and released it.
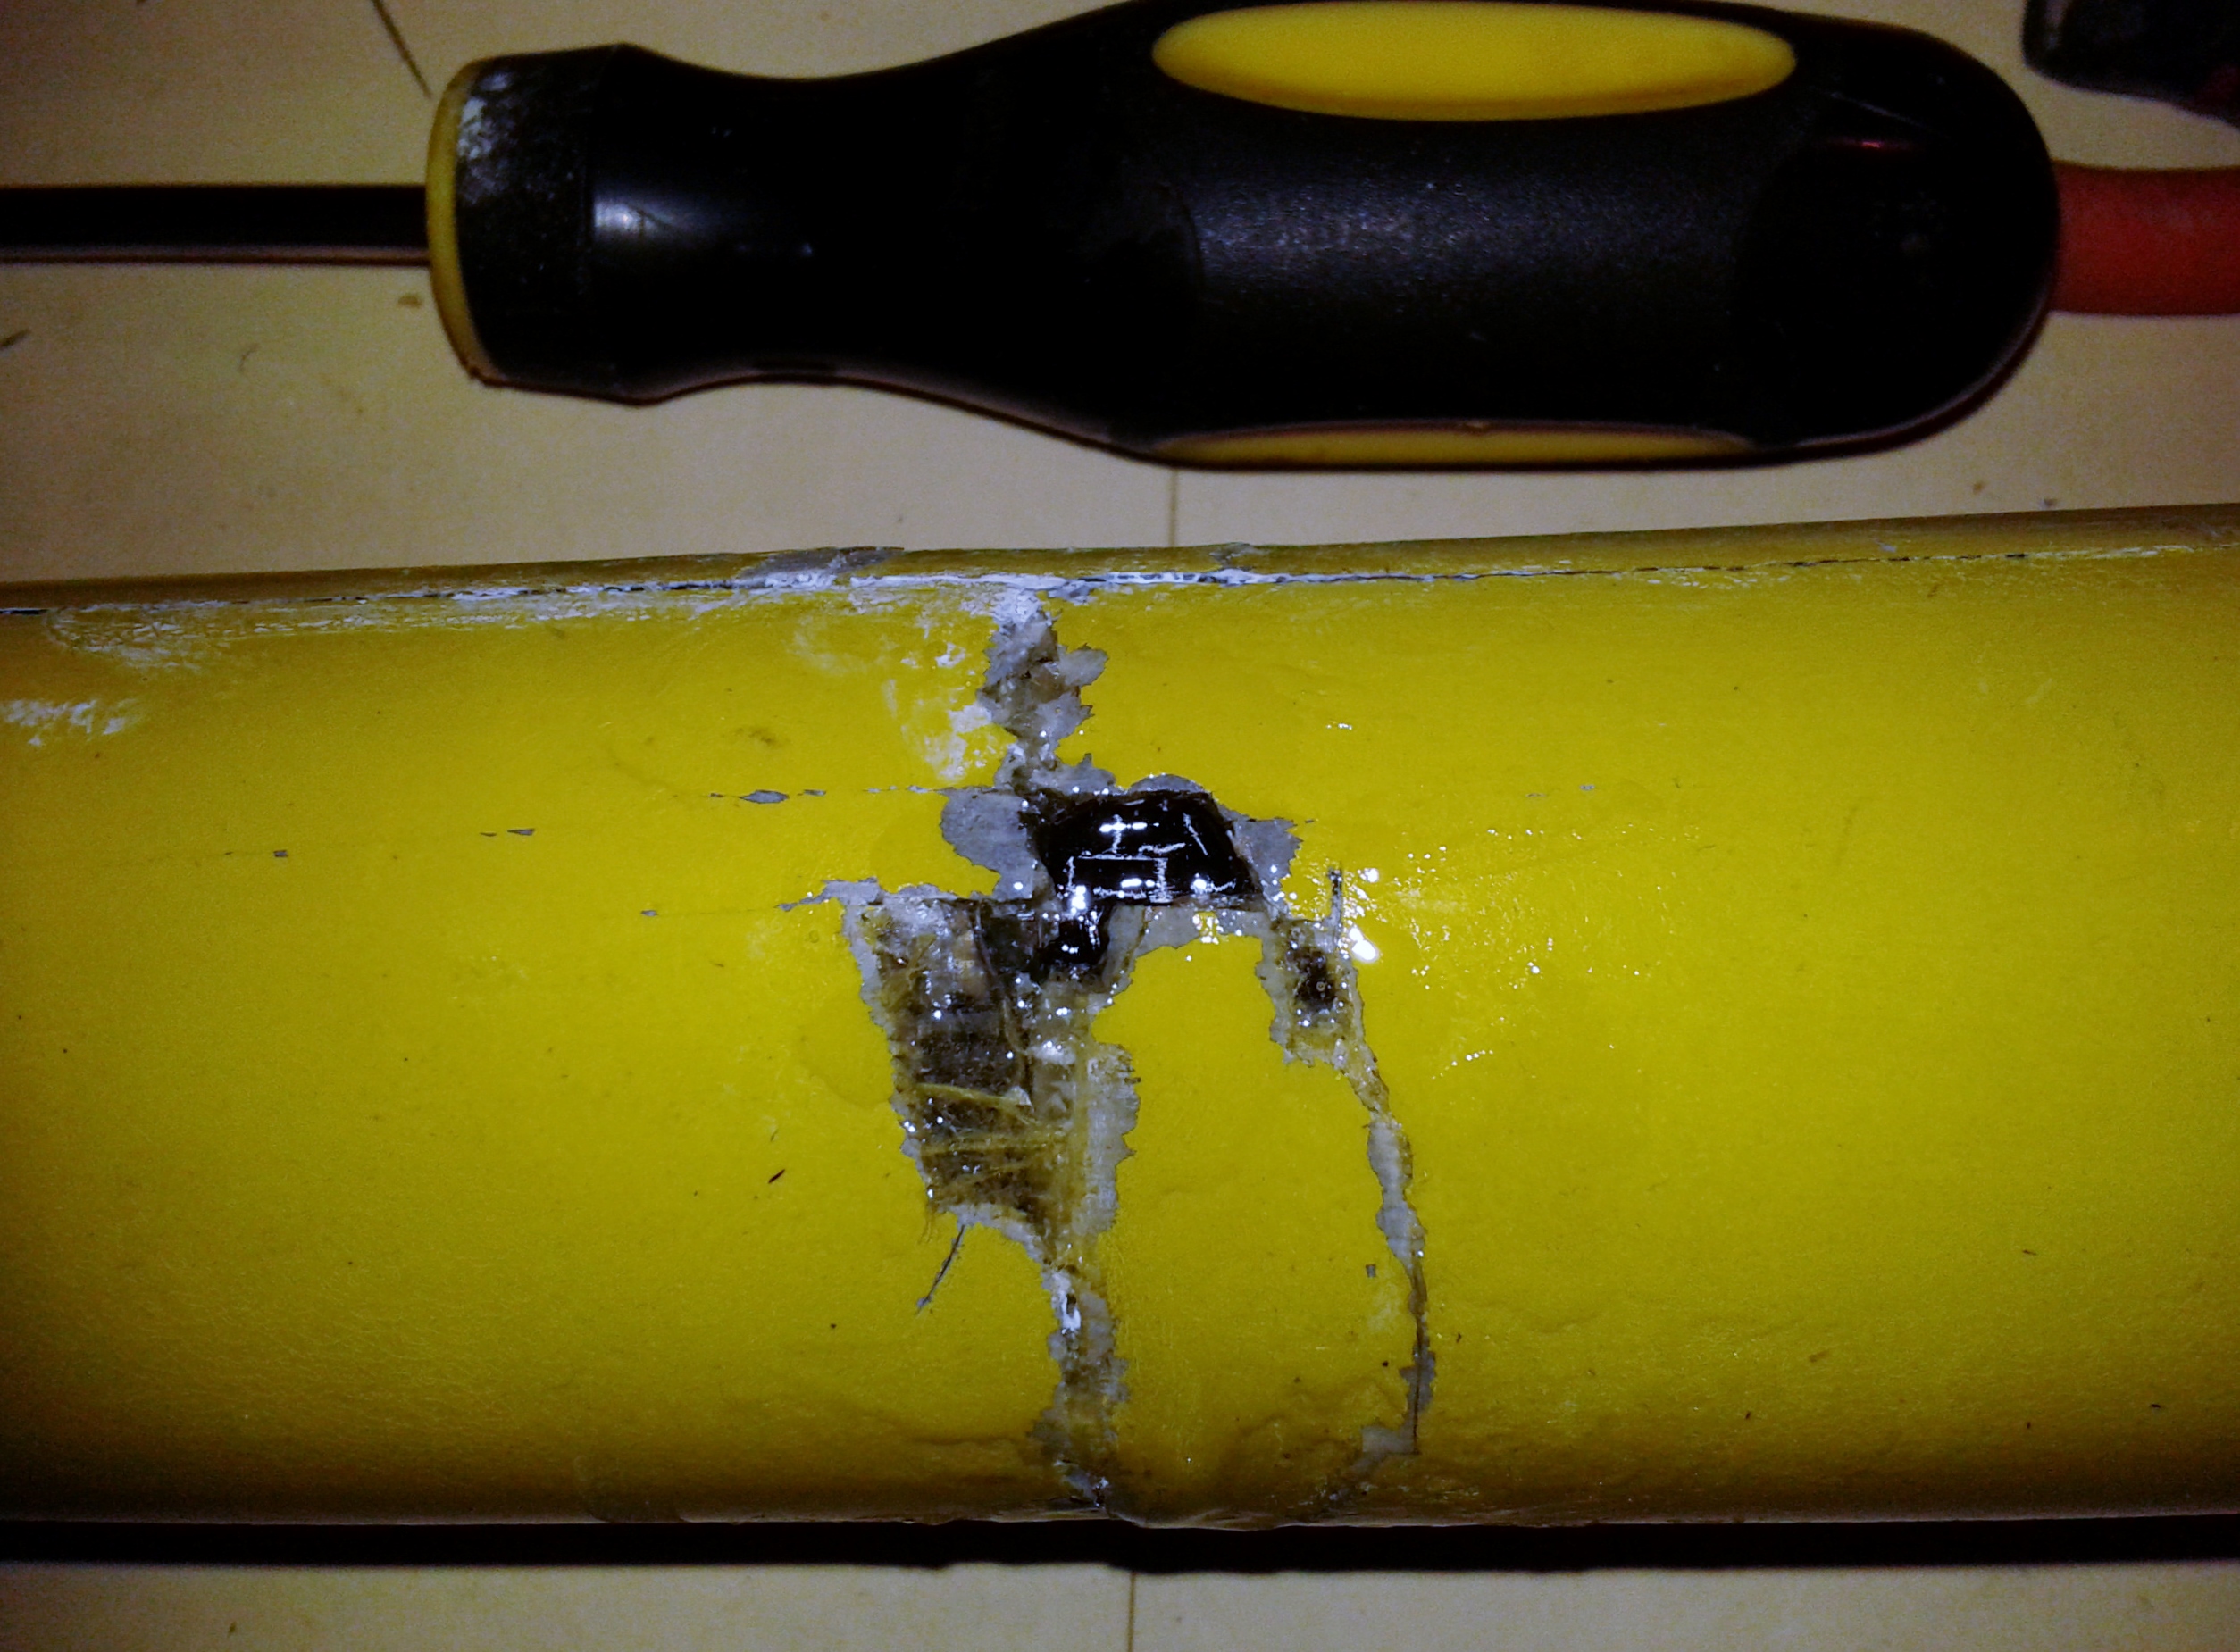 Put
a little extra epoxy in the big holes. (I had dripped in some extra
epoxy before running the cloth in also)
Put
a little extra epoxy in the big holes. (I had dripped in some extra
epoxy before running the cloth in also)
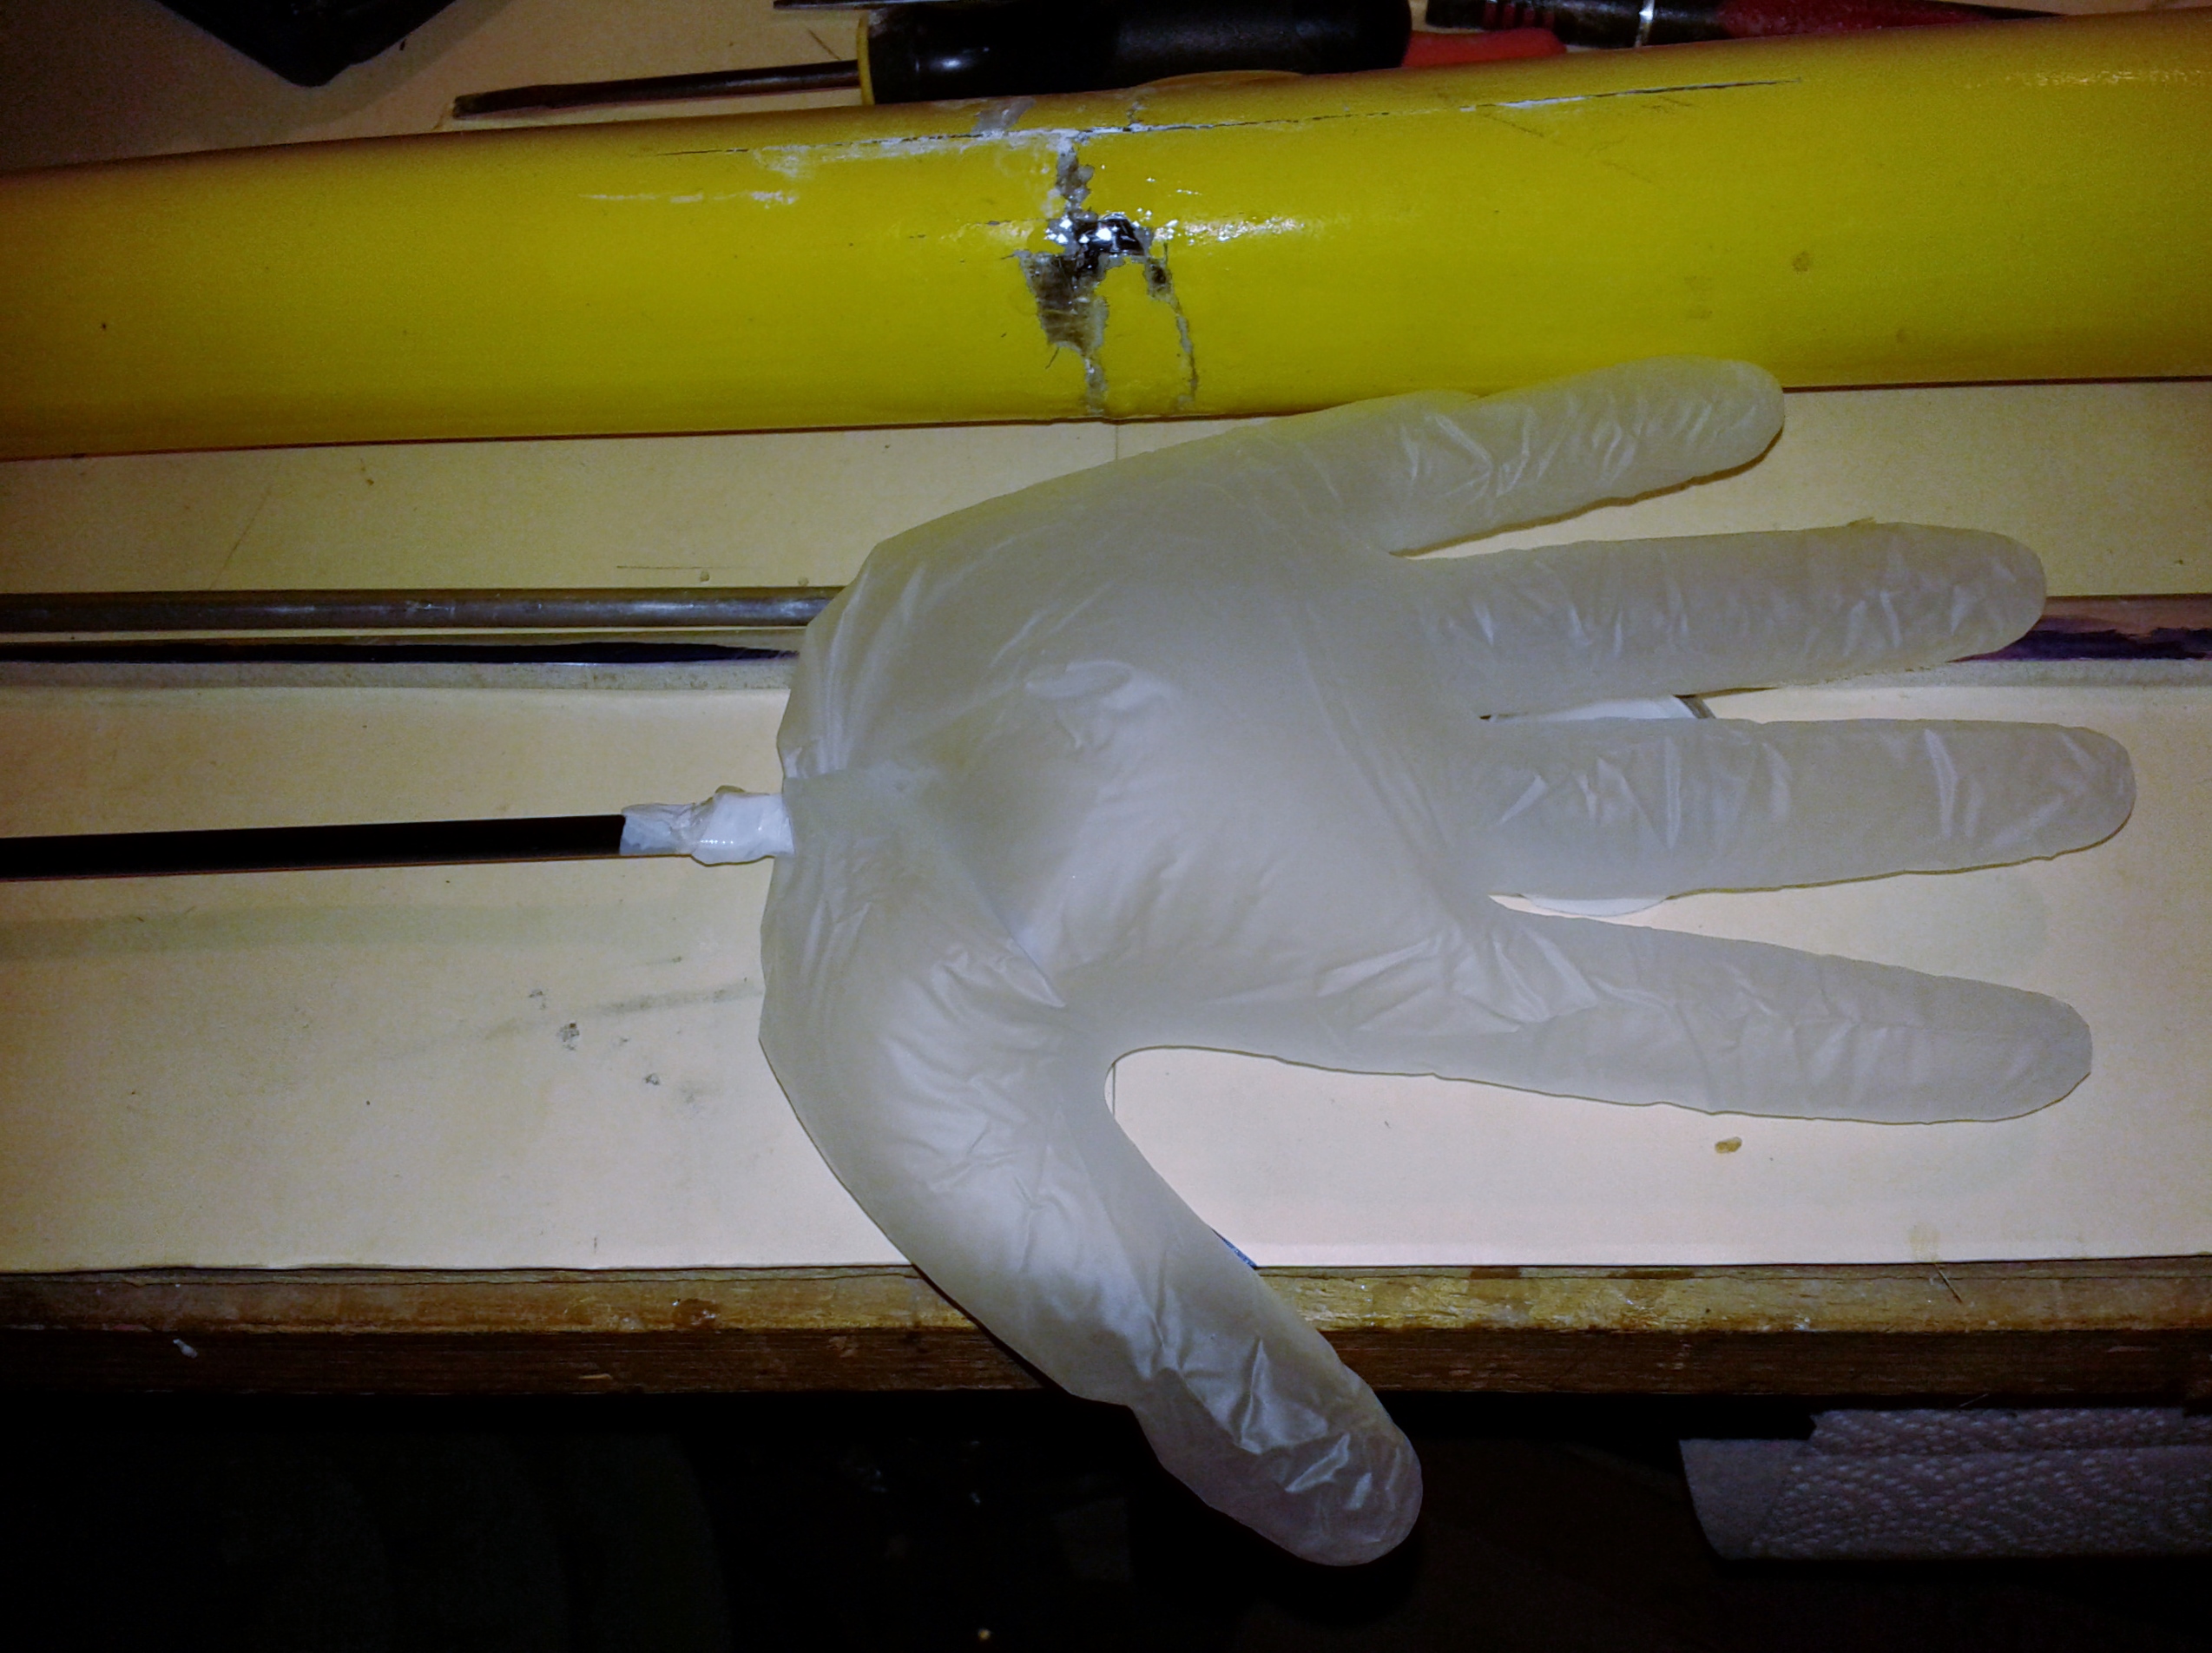 Ran the balloon in to the right spot and blew it up gently. Then blew hard
to pop it and pulled it out. I did it again with a surgical glove since I
ran out of balloons. I left it in until the epoxy got tacky and then blew till
it popped and pulled it out.
Ran the balloon in to the right spot and blew it up gently. Then blew hard
to pop it and pulled it out. I did it again with a surgical glove since I
ran out of balloons. I left it in until the epoxy got tacky and then blew till
it popped and pulled it out.
After some sanding and filling, the fuse came out great. The nose on this was totally demolished, but I managed to "Humpty-Dumpty" it back together.